Geek_Law's V-Max Transformation

VMAX  Forum

Help Support VMAX Forum:

This site may earn a commission from merchant affiliate links, including eBay, Amazon, and others.

Geek_Law

Well-Known Member
Joined
Aug 3, 2009
Messages
429
Reaction score
5
Location
Cornelius, OR (near Portland)
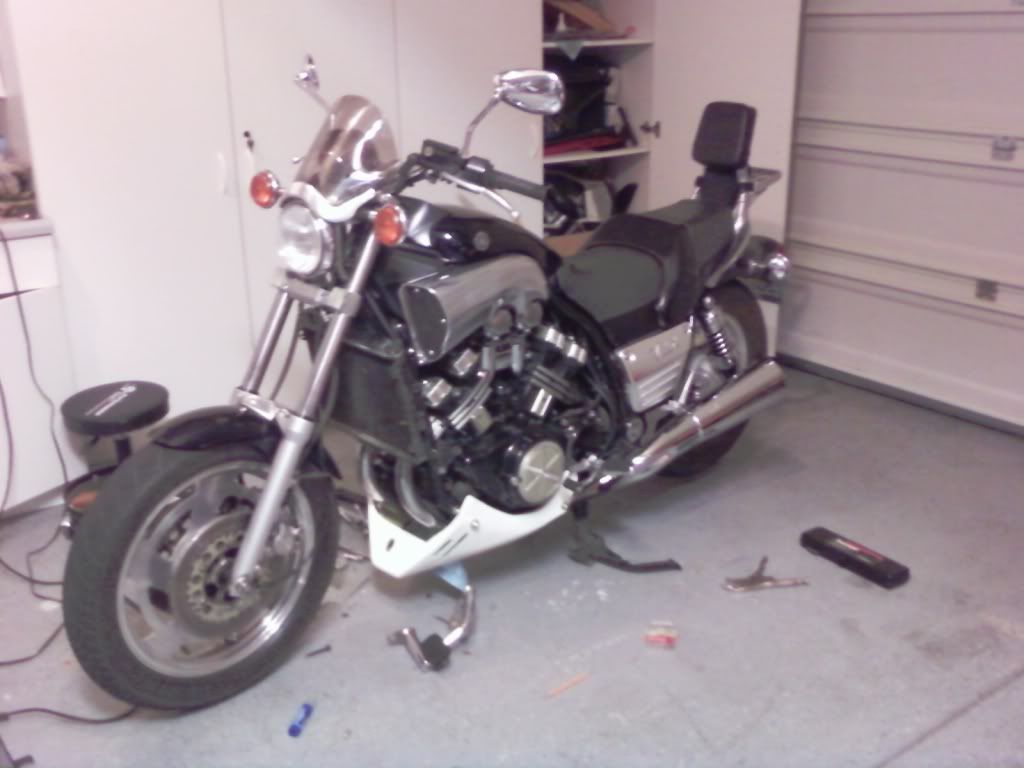
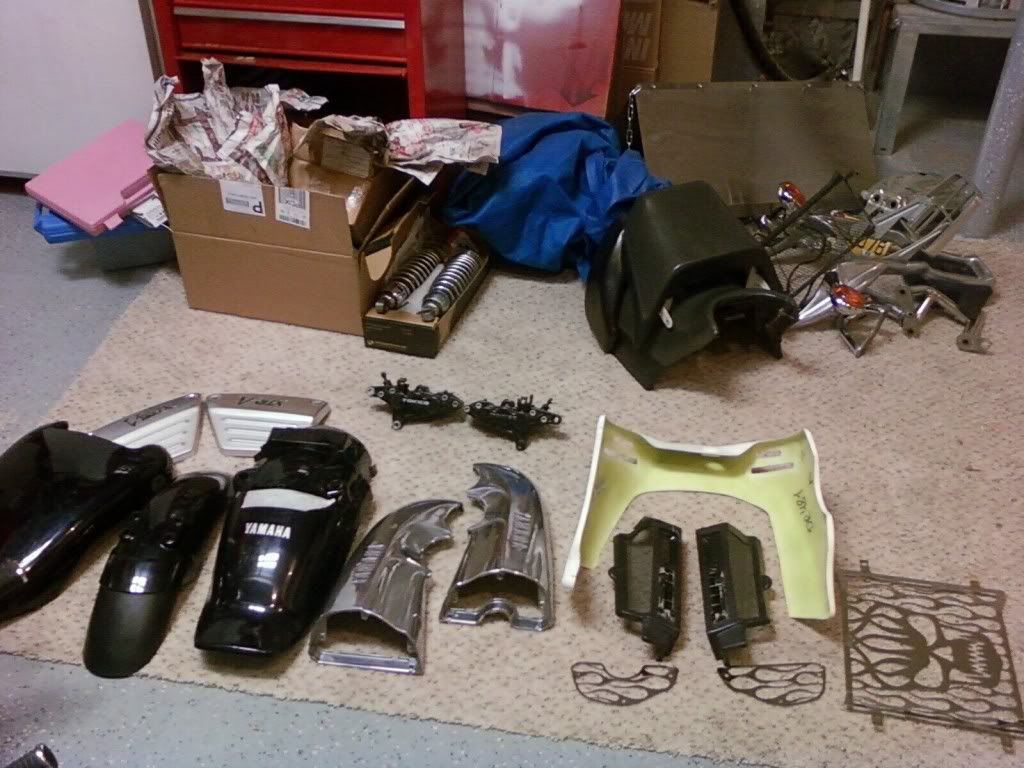
Well, this afternoon, the last of the parts for the Vmax that require paint arrived. Specifically, the belly pan, chin spoiler, lower fairing, whatever you wish to call it.

So, we thought, what time is better than the present to tear apart the bike and get all the pieces ready for painting.

First, we set about to create mounts for the belly pan, since all that I received was a solid piece of fiberglass that supposedly went to the vmax. No holes. No hardware. No Brackets. No instructions.

So, after a trip to the hardware store, some eyeballing, and some careful marking, we had the following:


SSPX0757.jpg


SSPX0761.jpg


SSPX0772.jpg


SSPX0769.jpg


SSPX0772.jpg


SSPX0775.jpg


SSPX0778.jpg


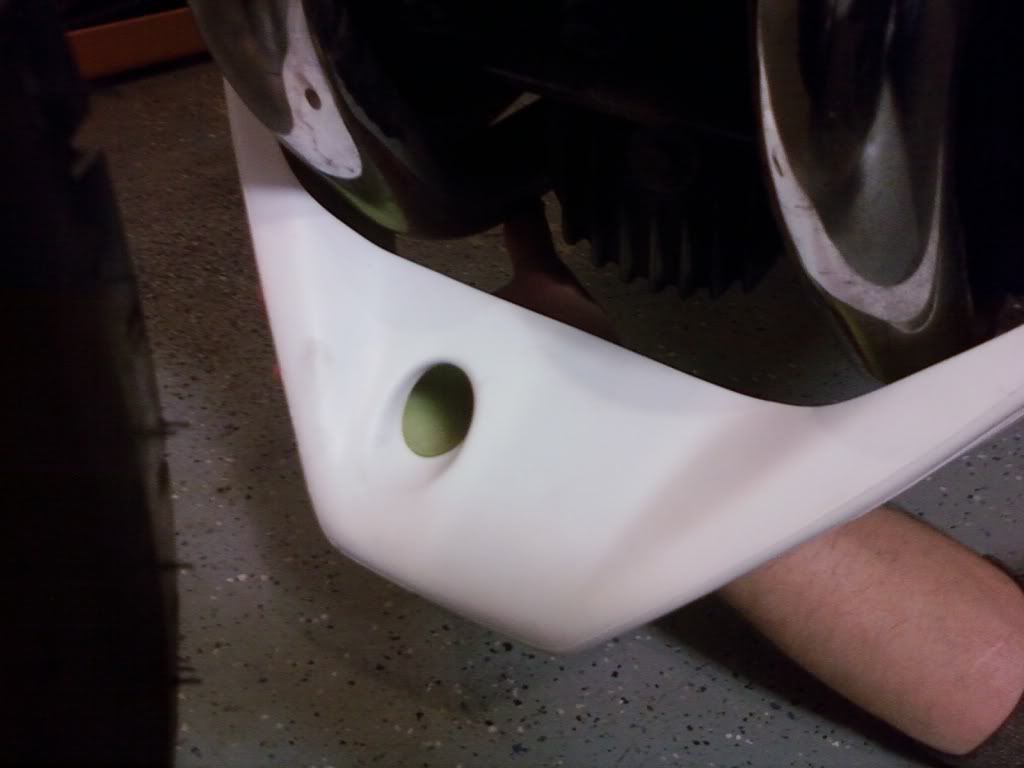
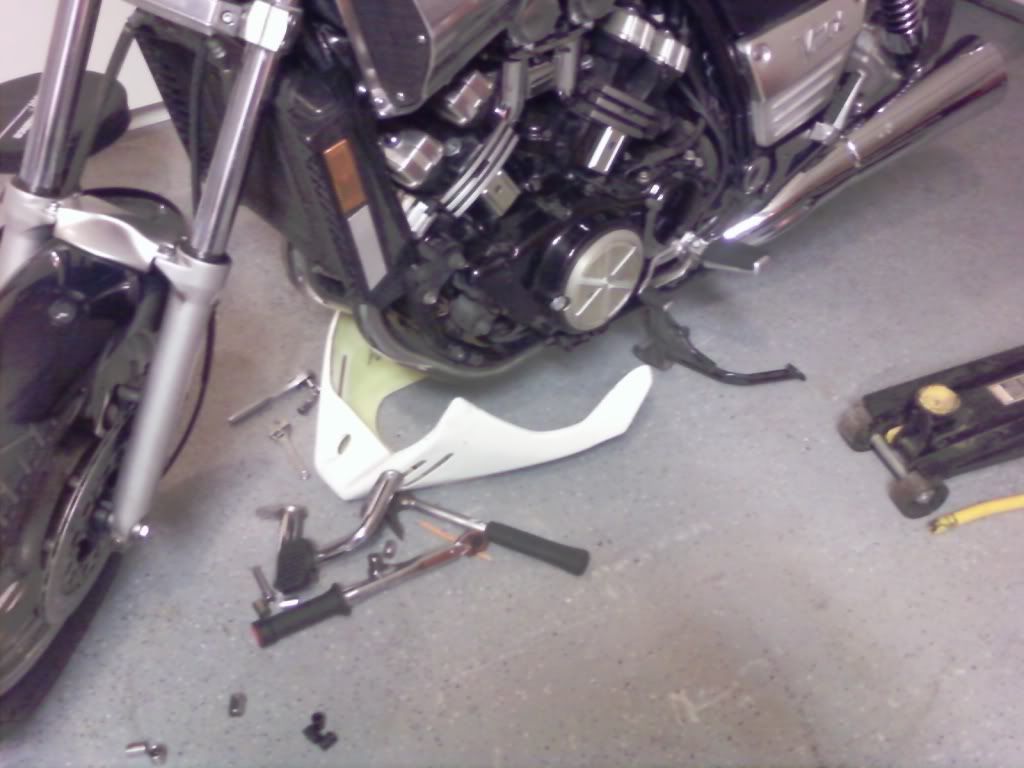
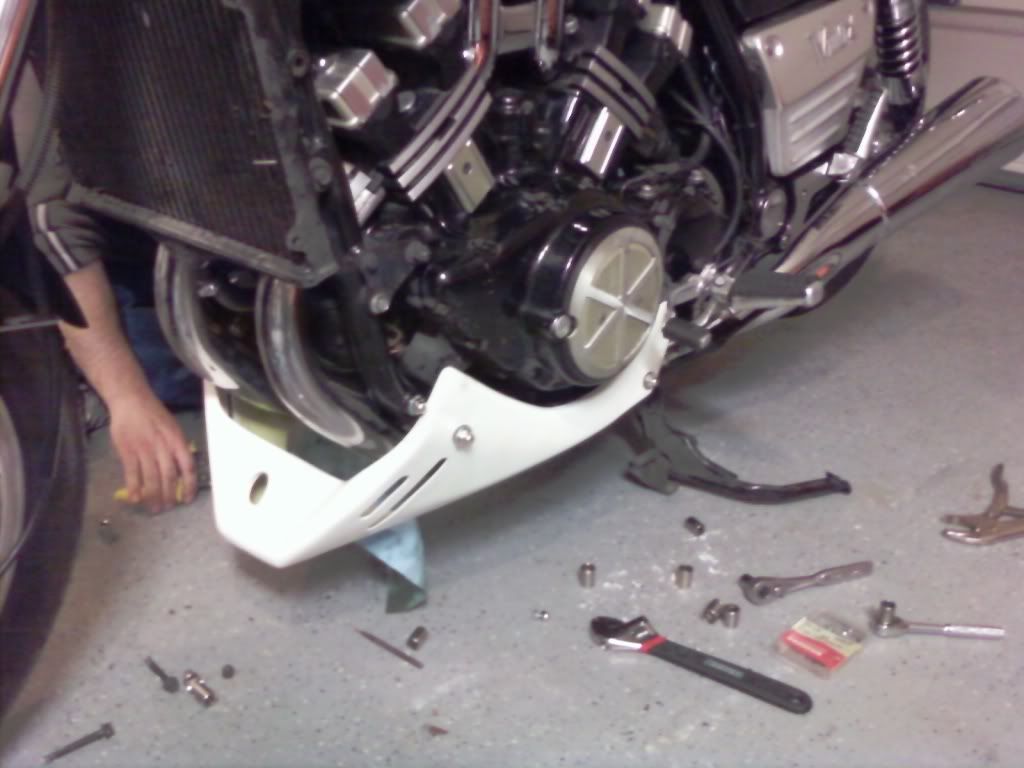
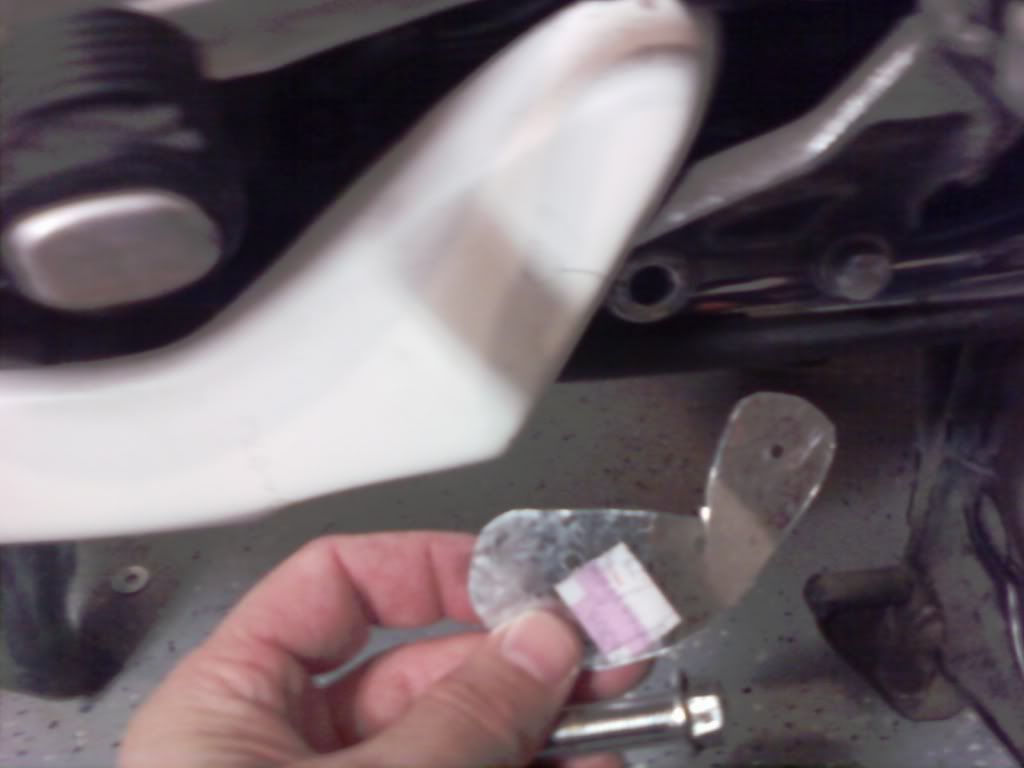
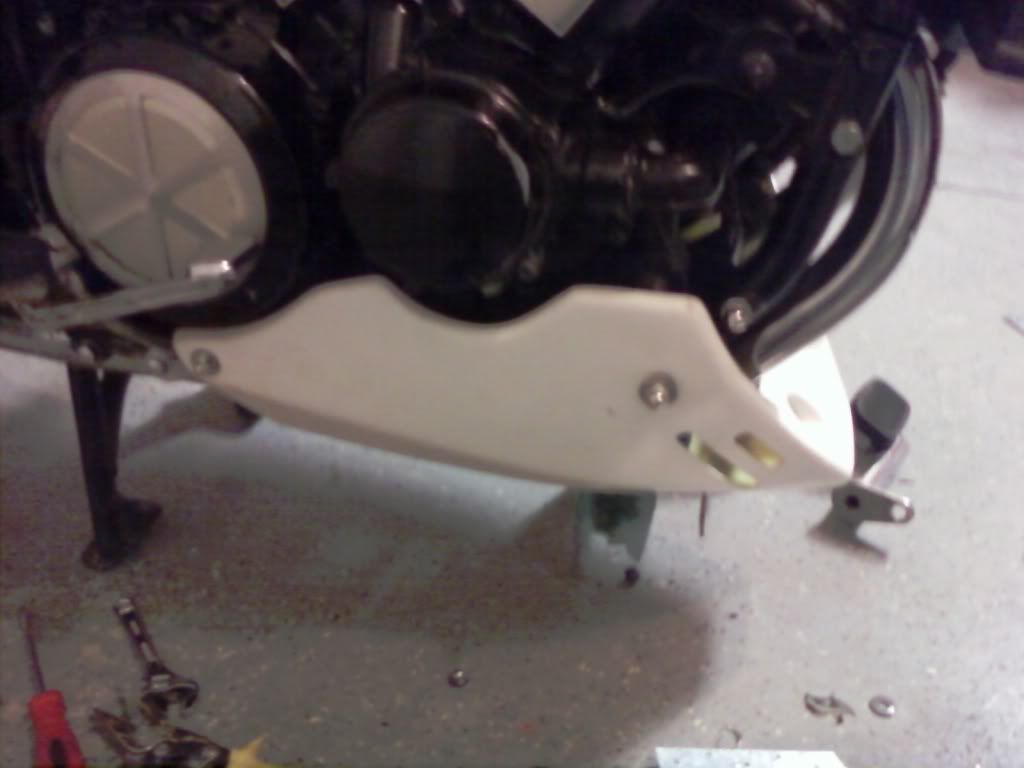
So we got the darn thing mounted. Cost about $15.00 in hardware, some hand made brakets, a couple of cuts, some swearing, and lots of patience.

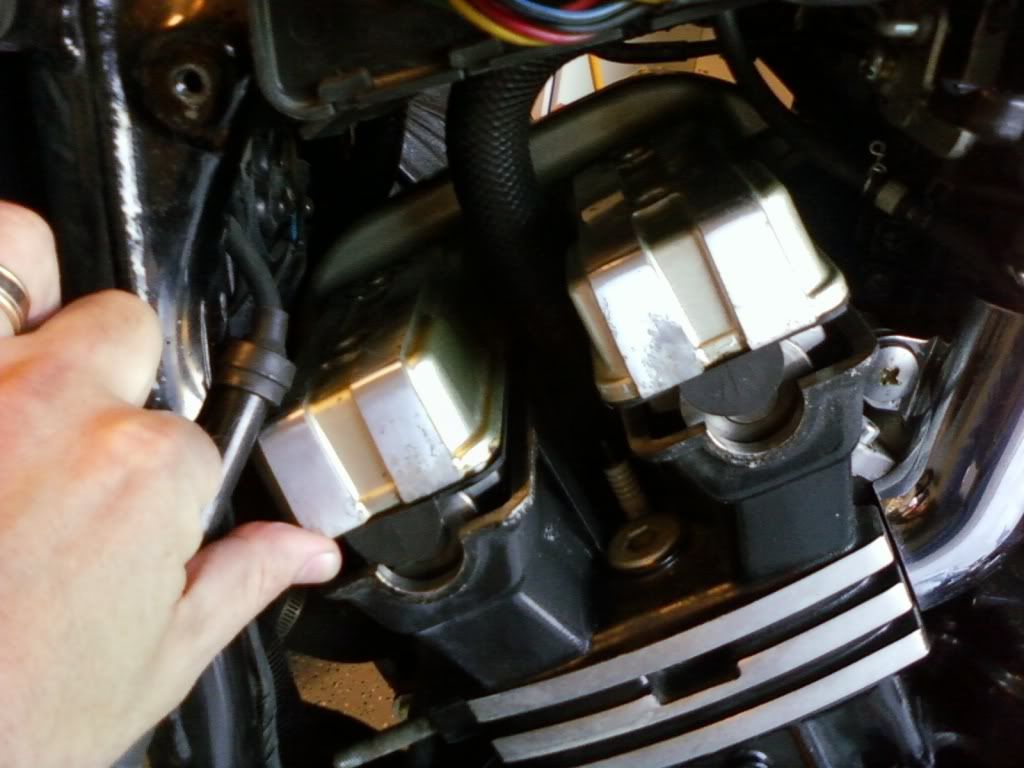
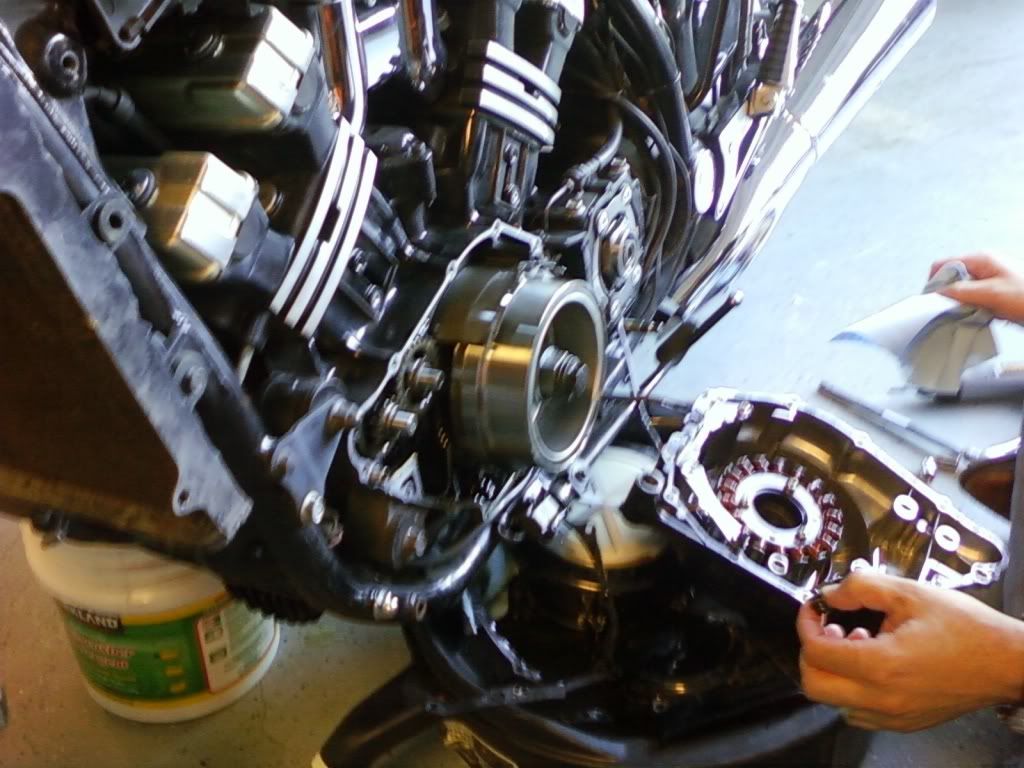
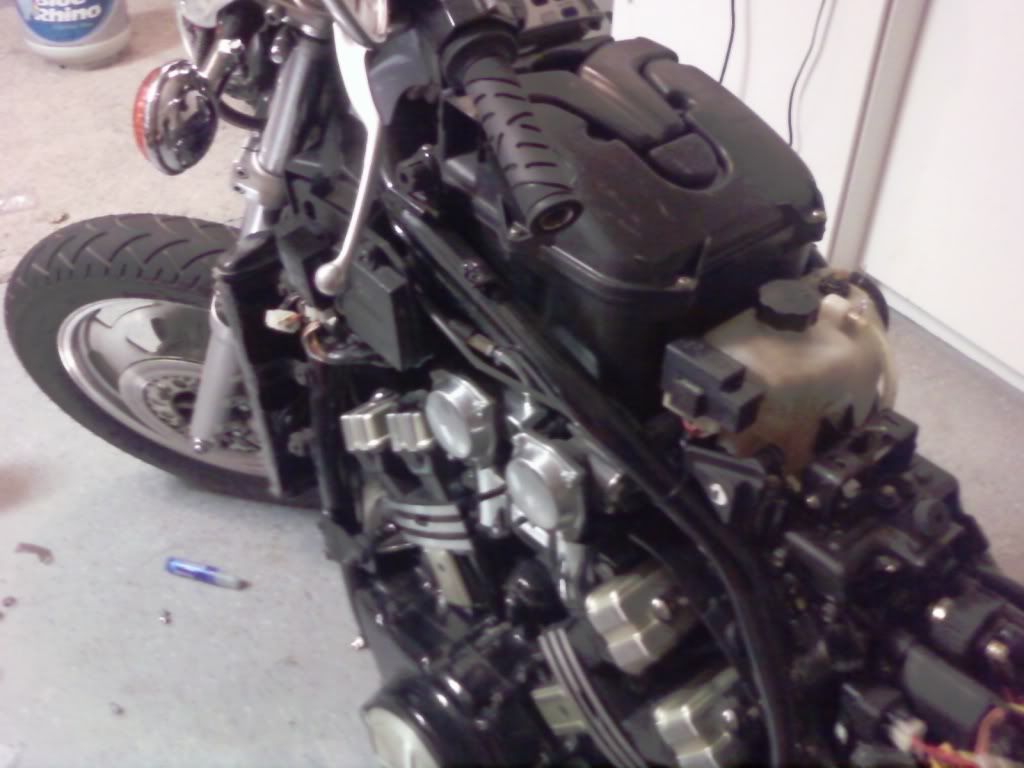
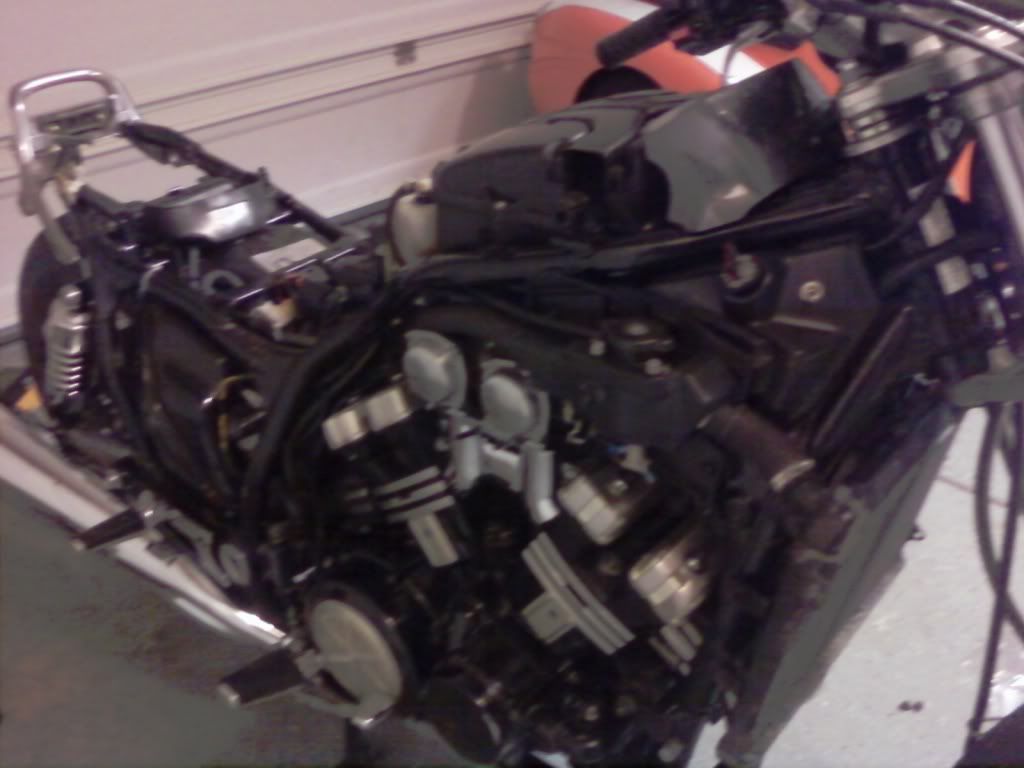
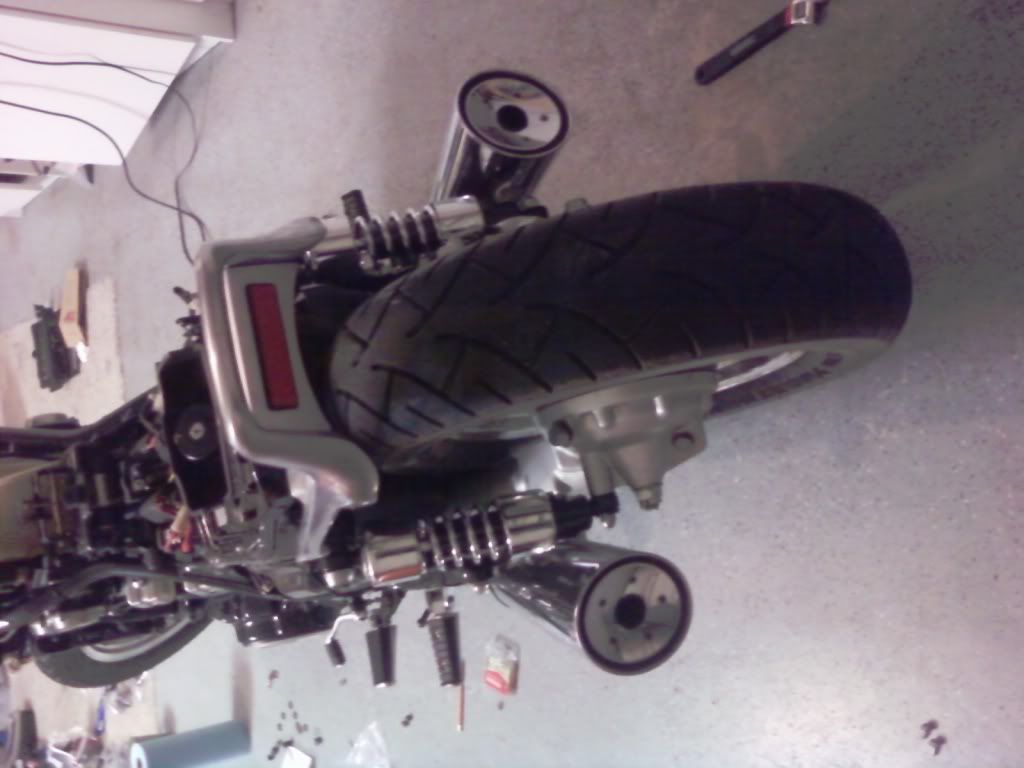
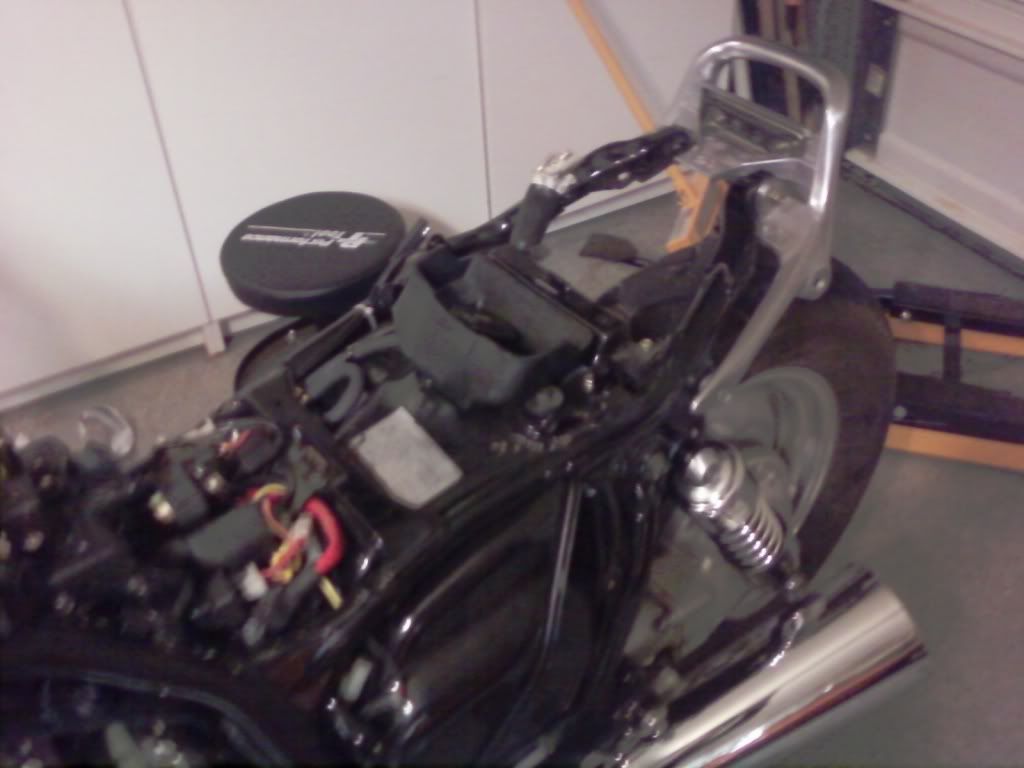
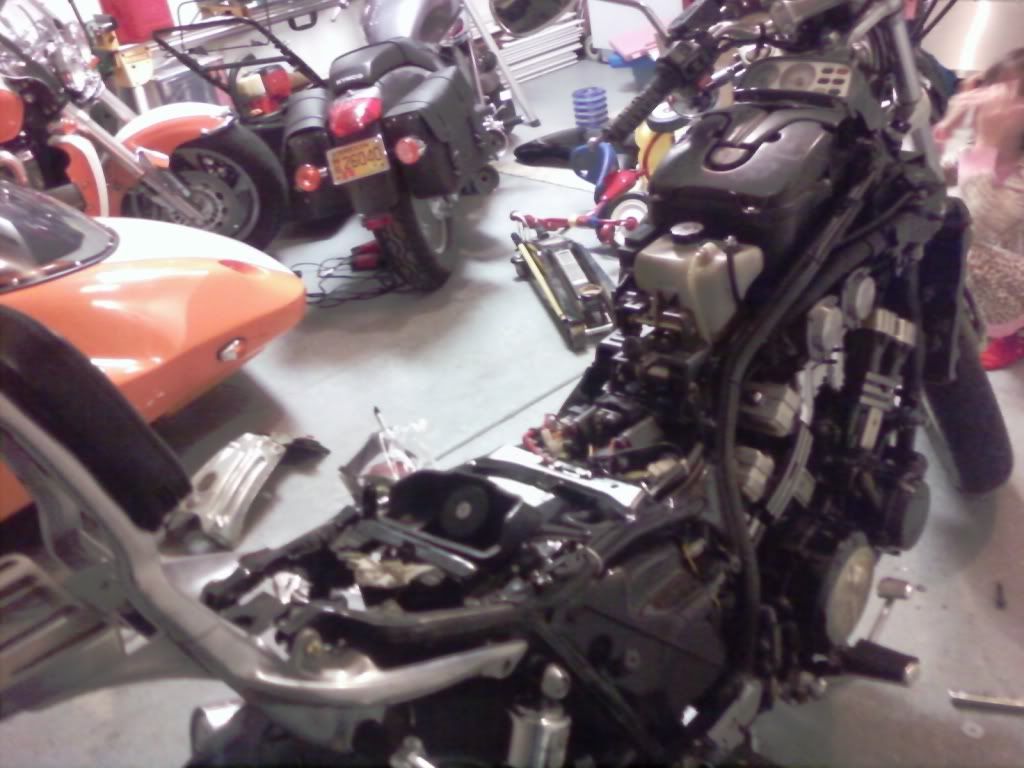
After that, we immediately set out to take the entire bike apart. I'll post pics of that below in just a minute.
 
Ok, so my wife and I set out to take off all the tins so that we could proceed with getting them painted. We braced ourselves for all out war given our recent memory of taking apart the Rocket and sidecar. Oh man that was a lot of work.

Anyway, the Vmax turned out to be a piece of cake to take apart for paint. Here are some pics of what we ended up with. Hopefully we can get these to the painter this weekend so that he can work his magic.

1254636734.jpg


SSPX0793.jpg


Here you can see that we removed the sissy bar and installed the rear grab bar. So that should be going up on Ebay (or here) after we get everything back together. We also removed the engine crashbars which I won't be re-installing.

SSPX0794.jpg


SSPX0796.jpg


SSPX0791.jpg


SSPX0789.jpg


SSPX0784.jpg
 
Here's a shot of my new Hayabusa 6-pot calipers that came today. I'm still waiting on the rotors though, so cannot do much with them a this point. Haven't decided what I'm gonna do with the lines or MC yet.

I may end up getting these powder coated to match the bike's new color.

SSPX0754.jpg
 
Do you think the belly pan can be mounted with crash bar ?
I was thinking to get one of those, but I was not planning to remove my crash bars :)
 
Today we got in touch with my painter and drove an hour north to drop all the parts off with him. We chatted for about an hour regarding the project, picked paint colors, and inevitably made the project more complex and thereby more expensive.

Oh well. The parts should really pop once they are done.

After we got back, I started pulling parts off the engine so that we could get them ceramic coated in black.

I removed the water pump cover, the clutch cover, the stator cover, the middle gear cover, and then removed the 8x bolts off the front valve cover, but couldn't get valve cover over the chain and out beneath the frame to save my life.

So now the valve cover is just sitting there and I don't know if I should take the parts to the powder coater or keep messing with the covers. Ugh.

Here are some more pics. I guess I had better buy some new gaskets too.

SSPX0811.jpg


SSPX0807.jpg


SSPX0806.jpg
 
Do you think the belly pan can be mounted with crash bar ?
I was thinking to get one of those, but I was not planning to remove my crash bars :)


Hey Diablo:

You know, I actually fussed about a bit with the crash bars after getting the belly pan mounted and I think that they will indeed mount back up, with the use of a spacer and a longer bolt, if you mount your mount a pan the way that I did. I'm not sure if my way is standard or not, because I just made my own mount holes and brackets.

Anyway, I thought it didn't look very good, so I do not plan on re-installing them. If you would like, I'd be happy to take a pic of them held up in the correct spot over the belly pan once I get the parts back. It will probably be 3-4 weeks before I get all the painted parts back however. Just let me know.
 
why exactly wouldn't they pop off? i've been looking to maybe get mine p/c as well.
 
why exactly wouldn't they pop off? i've been looking to maybe get mine p/c as well.


I should have been more clear. They popped off no problem. I just cannot get them out. There must be a trick to it. Maybe I'll remove the radiator hoses and try again. You have to lift them over the chain but then, they are up into the frame and wires so I'm just beating my head trying to figure out what the secret is for getting them out of their little nest one they are loose.

I was coming out of the RH side. I'll remove the Radiator hose and try coming out the LH side.
 
let me know if there's a trick. some guys here must know as isn't that required to check valve clearances?
 
Bought some new gaskets from Xtreme Powersports. Hopefully I didn't get ripped off. Everything seemed pretty reasonable except for the cylinder cover gaskets. Mine are fine, but the little half circle rubber things are starting to crack, so I thought I might as well replace them if I have the covers off.

The other gaskets are for the clutch, the middle gear, and the stator cover plates. The water pump had a rubber gasket that looks to be in good condition still.

Qty Part No . Description . Price . Total .
--- -------------------- -------------------- ---------- ----------
1 3JP-15451-00-00 GASKET, CVR1 $6.48 $6.48
1 3JP-15461-00-00 GASKET,CRCS COVER2 $2.27 $2.27
1 3JP-15462-00-00 GASKET,CRCS COVER3 $5.19 $5.19
2 26H-11193-00-00 GASKET, HD.COVER 1 $22.38 $44.76


Sub Total : $58.70
Shipping:Standard Shipping (7-12 days)
Shipping and Handling Charge : $14.50
Tax : $0.00
Total Order : $73.20
 
why exactly wouldn't they pop off? i've been looking to maybe get mine p/c as well.

Sorry I haven't got round to make my write-up on the valve clearance job yet, other wise you would have the answer already!

The rear cylinders valve cover will pop out no probs with a little persuasion - it's tight but ok.

The front cylinders one is the problem: you must remove the Vboost servo unit or it will not clear and come out. The easiest way to do this is to remove the 3 screws that hold the plastic panel behind the right scoop (with the thermostat etc), and pull it out of the way enough to reveal two big philips screws - they hold the Vboost servo in place (just next to the TCI unit connectors).And yes, this means you also need to remove the air box and the front heat shield rubber so you can pull the Vboost servo out of the way (no need to disconnect the Vboost valve cable). Then the front valve cover will come off!

See attached pix :punk:
 

Attachments

  • P1080080.jpg
    P1080080.jpg
    44.2 KB · Views: 47
  • P1080083.jpg
    P1080083.jpg
    41.3 KB · Views: 44
  • P1080086.jpg
    P1080086.jpg
    65.8 KB · Views: 54
good info, NG. i'm patiently awaiting your writeup haha. at this rate i'll need it summer of '11.

the silver/grey part on my covers is pretty oxiized so i'd love to get 'em p/c. could probably wait until they come off for the vavle job tho.
 
Sorry I haven't got round to make my write-up on the valve clearance job yet, other wise you would have the answer already!

The rear cylinders valve cover will pop out no probs with a little persuasion - it's tight but ok.

The front cylinders one is the problem: you must remove the Vboost servo unit or it will not clear and come out. The easiest way to do this is to remove the 3 screws that hold the plastic panel behind the right scoop (with the thermostat etc), and pull it out of the way enough to reveal two big philips screws - they hold the Vboost servo in place (just next to the TCI unit connectors).And yes, this means you also need to remove the air box and the front heat shield rubber so you can pull the Vboost servo out of the way (no need to disconnect the Vboost valve cable). Then the front valve cover will come off!

See attached pix :punk:

Holy smokes! That's exactly the information that I needed. Thanks so much for posting that. This will save me some time and frustration for sure.

I guess the moral to this story is, "Remove the rear one first." Had I done that, I wouldn't have felt so defeated when I couldn't shimmy the front cover out of its little nest.
 
I dreamed about my painter last night. That was a bit disconcerting, but the parts came out really well :ummm:

Any psycho-therapists out there wanting to interpret my night time hallucinations?

Oh, and I got home from school tonight around 10:30pm, checked the mail, and my new blinkers came! So that was cool. I should have snapped a pic. They actually have clear lenses (I thought they were yellow) so that is cool. The lights inside are VERY BRIGHT and the secondary running light is nice and mellow. I'm pretty excited about getting them wired up.

I'll take pics and post them in case anybody else wants to wire in running lights. Its actually pretty simple. I don't think I'm going to use a relay either. I'm thinking that the OEM circuit will support the extra two filaments. At least I hope.
 
Hey Diablo:

You know, I actually fussed about a bit with the crash bars after getting the belly pan mounted and I think that they will indeed mount back up, with the use of a spacer and a longer bolt, if you mount your mount a pan the way that I did. I'm not sure if my way is standard or not, because I just made my own mount holes and brackets.

Anyway, I thought it didn't look very good, so I do not plan on re-installing them. If you would like, I'd be happy to take a pic of them held up in the correct spot over the belly pan once I get the parts back. It will probably be 3-4 weeks before I get all the painted parts back however. Just let me know.


No worry I should be able to figure it out with the pics.
Else I found some which are already cut for hosting the crash bars.
I have time to think about it anyway :)
 
UPDATE ON STATUS:

Hmmm ... I'm not a happy guy with respect to the progress of my mods. I always expect problems, but this last couple of weeks, I've picked a trifecta:

1 - Painter:
I have a great painter. He's really got skills and he cuts me some serious deals. Unfortunately, he's slow as molasses. No worries, I just get him stuff waaaaaay before I need it back. Anyway, I was supposed to go and see him two weekends ago. Yep, not last weekend, but the one before that, so that we could drop paint lines. He pushed me out the first time, no biggie, then just proceeded to stand me up the second time.

Ugh. I talked to him today. The parts are all repaired, blocked, primed, sanded, and sprayed with the base color. So I'm driving up tomorrow after work. Gotta love the Bastard.

2- Powder Coater: Well ... I was supposed to pick up all the parts this past weekend. Hmmmm ... broken oven you say eh? Ok. Next weekend it is :-% Crap.

3- Seals and Gaskets: Where in hell are those gaskets that I ordered over two weeks ago, I say in much nicer terms to "Performance Parts" of NY. Oh, they haven't shipped yet you say. I see that you charged my card on the 4th of October you prick. Do you know what gaskets do? Yeah, the engine no runny right now. What in the hell?

We'll see what the next week brings. I've got a bike in about a million pieces. Things could get very interesting if the process takes so long that I forget where all the shiny bits go.

Ugh.

Woe is me.
 
3- Seals and Gaskets: Where in hell are those gaskets that I ordered over two weeks ago, I say in much nicer terms to "Performance Parts" of NY. Oh, they haven't shipped yet you say. I see that you charged my card on the 4th of October you prick. Do you know what gaskets do? Yeah, the engine no runny right now. What in the hell?
You craaaaaazy - always use Gary McCoy for these things...

We'll see what the next week brings. I've got a bike in about a million pieces. Things could get very interesting if the process takes so long that I forget where all the shiny bits go.

Ya I've been there - waiting for weeks and then not remembering half of it.. The worse bit is when you're 95% finished putting it back together and then notice that bit on the floor that you just remember needs to go in FIRST... :bang head:

That's why it's always such a great idea to take pictures while dismantling for the first time! :eusa_dance:

Then again, you've got us, so you should be able to get away with it!
 
And then other guys that don't get parts shipped out right before they run off and get married and then think they did so you still don't get them when they get back - lol.

Sean
 
Speaking with first hand experience, I always prepare myself for the inevitable delays because there's AlWAYS a phuking problem.
The chromers bath has a leak, the powdercoaters compressor blew up,
the painter had a really busy week, some parts were on backorder.
Yep, happens everytime so now I just assume when I think something should be ready I multiply it by about 3 x to keep my frustration on hold.:damn angry:
 
Back
Top