


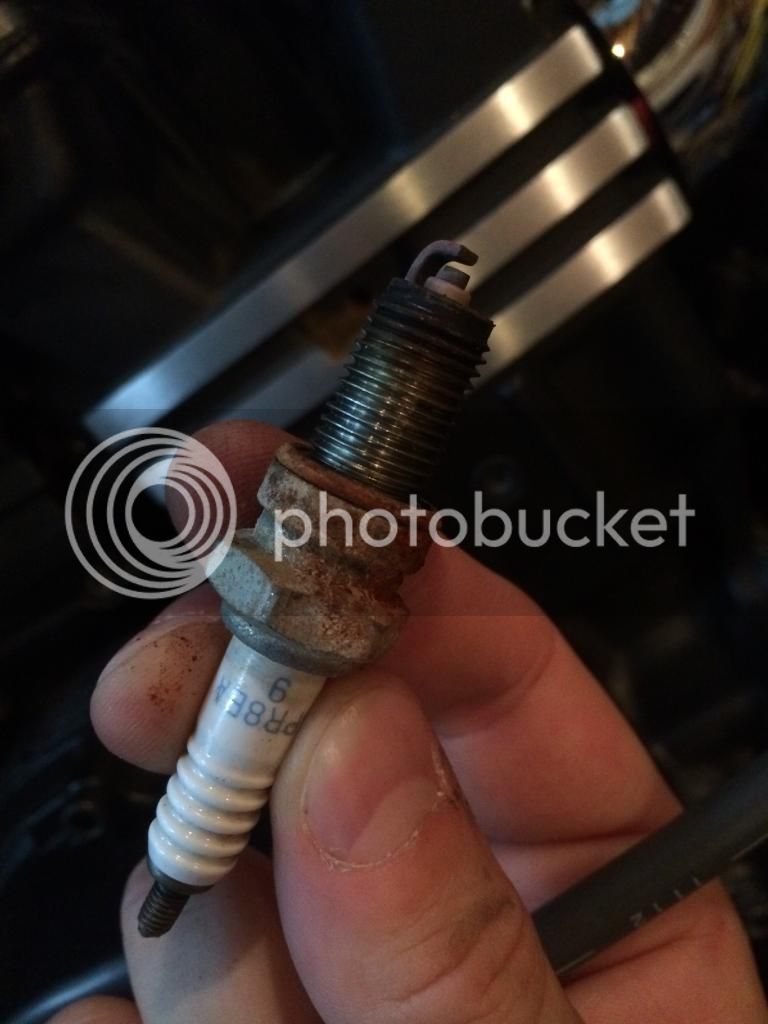
Decided to change plugs today since former owner hadn't done it for the 3 yrs and 6k miles he owned it. 21k on the clock. 2006 model. This greeted me when I pulled the plug. This rust normal? More badness going on underneath the surface??
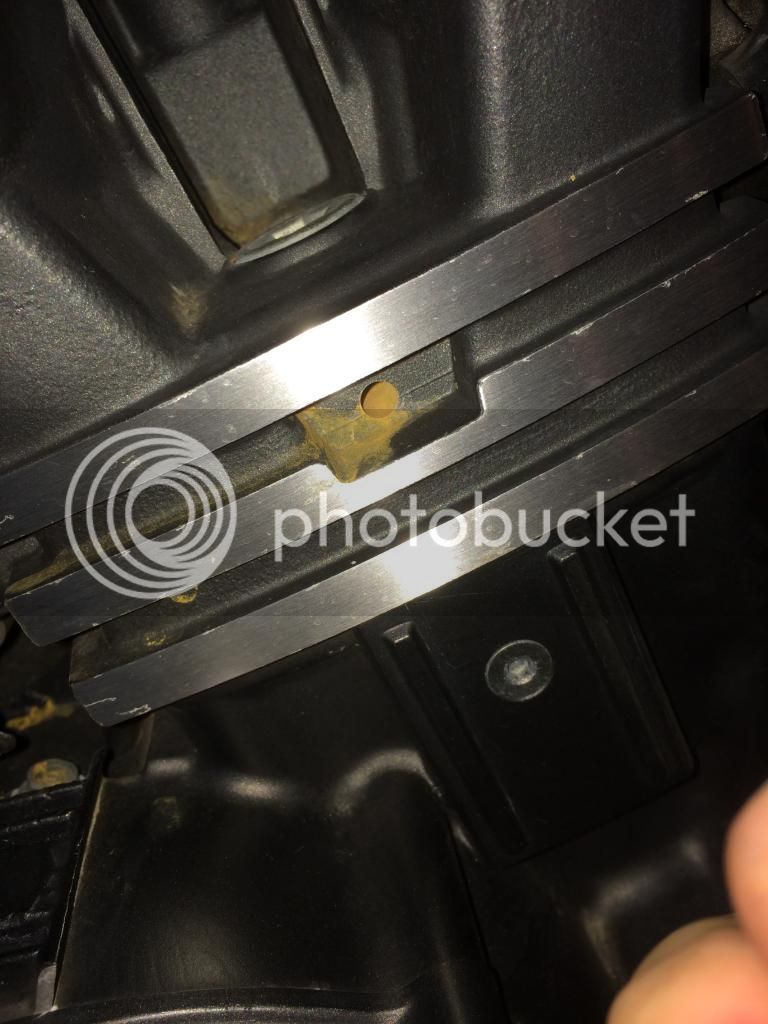
See pics.
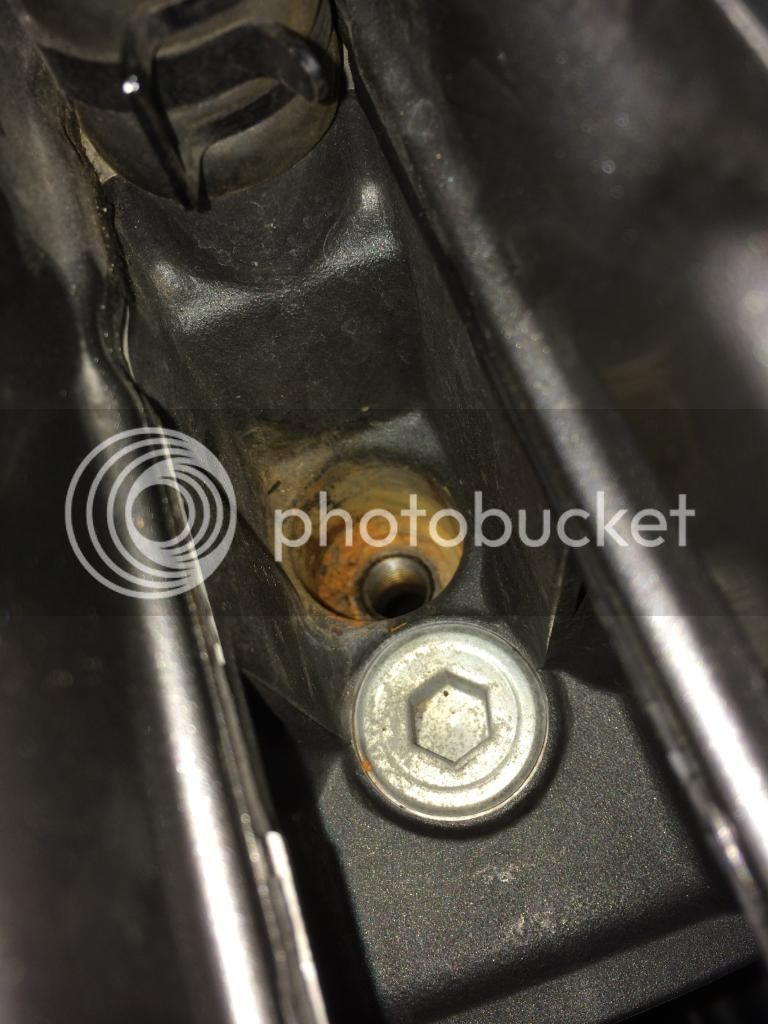
See pics.


