one2dmax
Well-Known Member
Start putting your info in here so everyone can find it in one place.
This is the original info about the first kits and pricing. Everything is the same but we have had many more kits sold/installed with excellent results. 95% of most kits make over 120+ rwhp while still maintaining 38-42+ MPG. More mid-range with same top end as stage seven.
We have had a few bikes dyno into the 130's with this kit. The typical bike will make mid 120's.
I do not normally recommend this kit for slip-on or stock type headers as they are really choking the flow down. A full header is best for this.
>>>>>>>>>>>>>>>>>>>>>>>>>
Here is some info I have for you and a picture of our earlier design - the basic setup now is the same just different filter (size).
<<<<<<<<<<<<First Email with dyno results>>>>>>>>>>>>>>
Well, got the chance to do more testing yesterday and some road testing today. Here's what we found out:
We have three bikes so far with our new jet kit and a fourth that we were short some parts that didn't get a chance to get finished (it is now finished and runs very well).
First bike is a 2000. It has the quieter Hindle (super sport?) exhaust system and is otherwise stock internally. He was able to tune his bike to 121 HP with our new kit. He is using Factory Pro Titanium needles as well. His v-boost is being used in conjunction with a t-boost unit. His bike runs well and clean through the entire rpm. He has struggled for a long time to get his bike to this point. I believe his bike started at around 110HP in stock form.
Second Bike is a 1994. When we received this bike it had Hindle slip on's on it (which are for sale) and was a relative dog. We were not able to get a dyno in that form though. Currently he has a Kerker header with a two-brothers carbon fiber muffler made for a TLR 1000. We adapted this muffler (and will be offering this service) recently and would be about equivalent to the 2" standard Kerker muffler. With our tuning we were able to get his bike to 123 HP 8-.5 Torque and it is running great. He is getting 40 mpg including some long high speed test runs that probably killed a mile or two off of it.
Third bike is a 1999. It was received with a stage seven installed per instructions and Kerker header with comp baffle. The bike dynoed a very respectable 124 HP as received but with a simple jet change (leaner) jumped to a very nice 127.27 HP and 80.6 Torque. We went a bit leaner on Saturday and got the fuel curve nearly perfect (in our opinion) except a very touch rich in the mid (1/2 clip maybe). Power dropped to 125.8 HP and 79.4 torque. With this baseline we decided to swap to our kit. We completely removed the stage seven and installed out kit. The new dyno showed 125.03 HP and 81.87 Torque. A 2 HP loss in top power but 1 lb torque increase BUT there was an almost 10lb increase in torque in the midrange. However, the test in not 100% valid as the other tests had the v-boost on full time where our kit had it functioning normally. The best part was i got 44 mpg with the new kit and it runs great.
<<<<<<<<<<Second Email with Pricing>>>>>>>>>>>>>>>>>>>>
The "deluxe kit" will run about $240 but will not have any core needed (or save some with your core which is preferred). It will include a new airbox lid with new flat K&N filter already installed. It will include 4 jets of each size from 155 - 165 (six sizes - 155, 157.5, 160, 162.5, 165, and 177.5 for the PAJ2 if needed) which will give a very nice range to select from. We will try our best to help you get close (tell you what combo's are currently working) with your jet size to start with. It will also include new springs and air correctors as well as the proper bit to drill out your slides. It will NOT include new needles. I can get these for an additional cost but so far the kit is working very well with the stock needles. There is also a new vent breather hose and adapter included in the kit. I can offer this in a true braided setup but they can get expensive quickly.
For a less expensive kit you can deduct $20 for sending me your old airbox lid (you would get a used one back too). So you can get this kit down to $220 if you send your old lid. Don't forget to add some shipping ($20 in U.S.) to the price too.
>>>>>>>>>>>>>>>>>>>>>>>>>>>>>>>>>>>>>>
Basic Install Instructions
Here's some quick directions and description of what the parts are doing.
The "T", Hose, and Oil fill cap (replaces the stock cap - don't forget to move over the oring) all will install into the PCV system. Basically when you remove the carbs from the engine you will want to take off that 1/2" hose. Cut about 3/4" off the bottom and discard this chunk. Cut it about 3/4" from where the last bend going up is, install the "T" fitting into that section (upper cut section) aiming towards the rear of the bike, and re-install it back into the PCV system. The black hose will fit onto the barb facing rearward and routed back and down to the new oil fill cap (don't forget to move over the o-ring from you old fill cap). Essentially you are "Teeing" into that system and making it pull a vacuum in the crankcase. This aids in ring seal for more power and economy. I have found that it is sometimes easier to cut all but 2 barbs off of each section of the "T" so you don't have to fight it on.
When installed it will have that rear facing barb right under the carb rack brace with the stub sticking up to connect to the base of your airbox like it does normally.
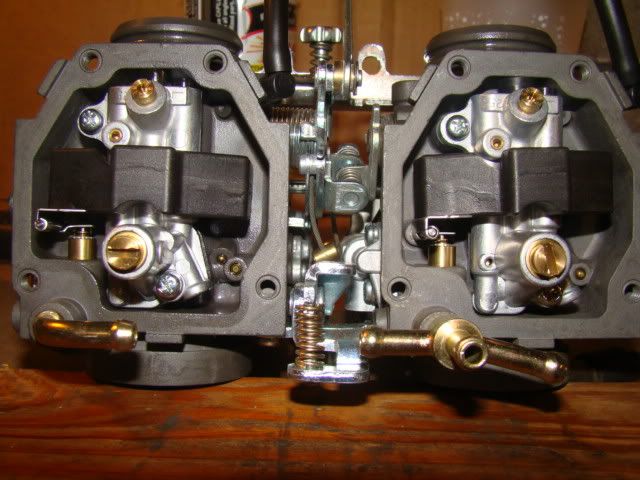
You can start with a 157.5 main or 160 main if you are using the stock needles. Typically other aftermarket needles run richer so you would start with a smaller main. Either jet size will be close but these bikes do like leaner more then richer. The rest of the install is much like the stage seven. You can drill the slides with the supplied drill bit if desired and change out the springs. This allows for faster throttle response. They will work with out drilling too. You can unhook the v-boost in the open mode if desired or leave it stock (I like the stock position myself but wide open gives a bit more rump sound). Don't enlarge the center hole where the needle passes through but rather the hole off to the side.
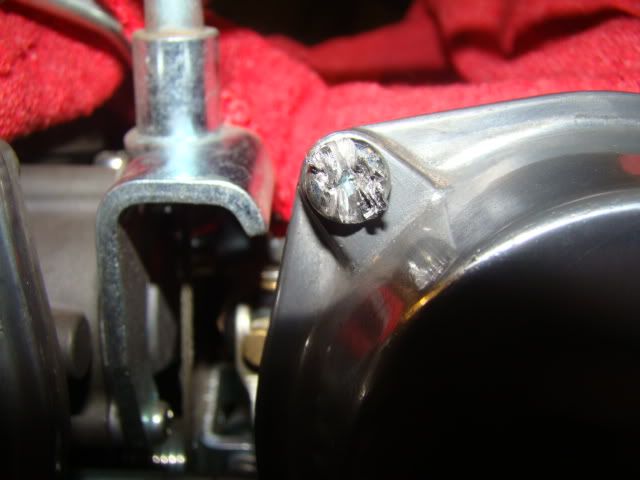
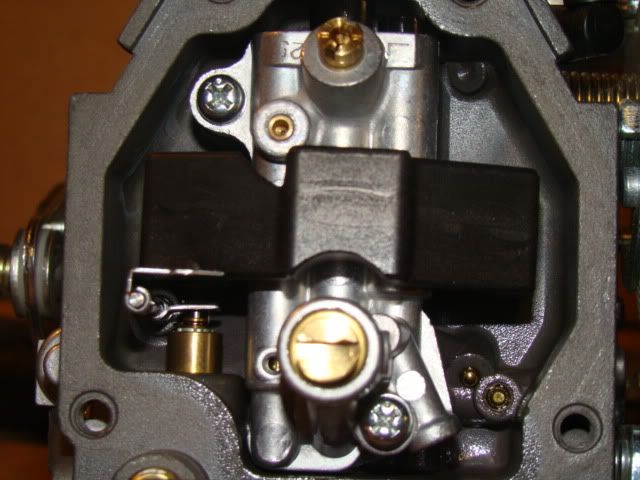
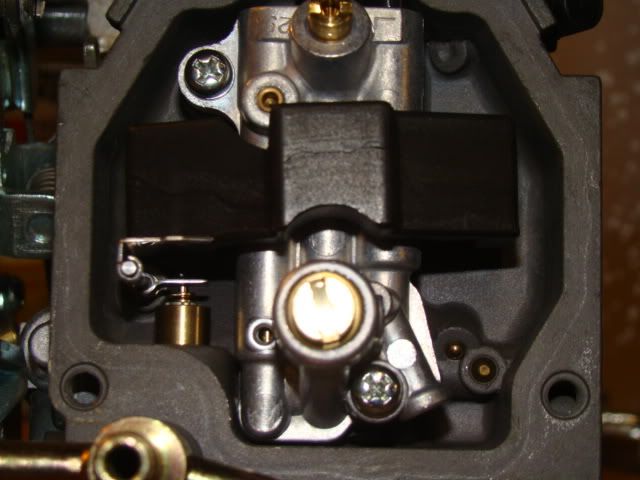
The brass air correctors install with the flat side downward into the air inlet hole on the top of the carbs. It's right next to the hole that has a jet in it. When you see the correct hole to install it you can look into the hole and you will see a thin walled brass sleeve down inside there. Put the flat side down and start by hand. You should be able to get it about half way started. Use the small punch that was included to drive the corrector until it is firmly seated which will be well down into the bore.
Don't forget to sync the carbs when you get it all back together.
Sean


![Bovemanx Motorcycle Phone Mount Holder, [150mph Wind Anti-Shake][7.2inch Big Phone Friendly] Bike Phone Holder, Motorcycle Handlebar Cell Phone Clamp, Compatible with iPhone 16 Pro Max Smartphones](https://m.media-amazon.com/images/I/51F+1sontPL._SL500_.jpg)


![Aomiker Motorcycle Phone Holder Mount - [Metal Extension Arm] [Dual Vibration Dampener] Motorcycle Cell Phone Mount, Bike Phone Handlebar Clamp for iPhone 16 15 14 13 Pro Max Plus, 4.7-6.7" Smartphone](https://m.media-amazon.com/images/I/51gU2g5VxgL._SL500_.jpg)

