Bike Resto in full effect

VMAX  Forum

Help Support VMAX Forum:

This site may earn a commission from merchant affiliate links, including eBay, Amazon, and others.
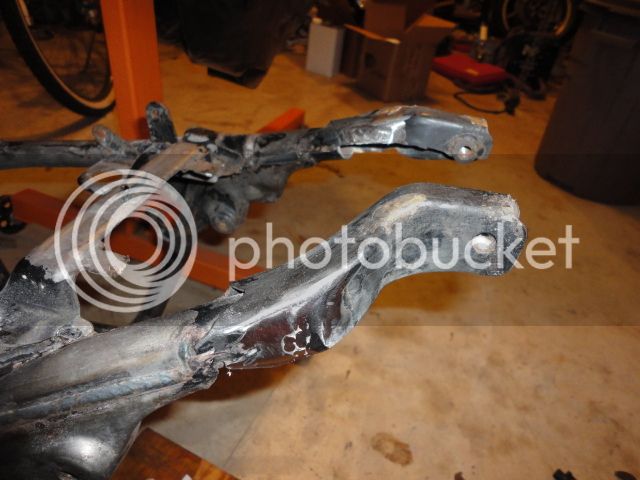
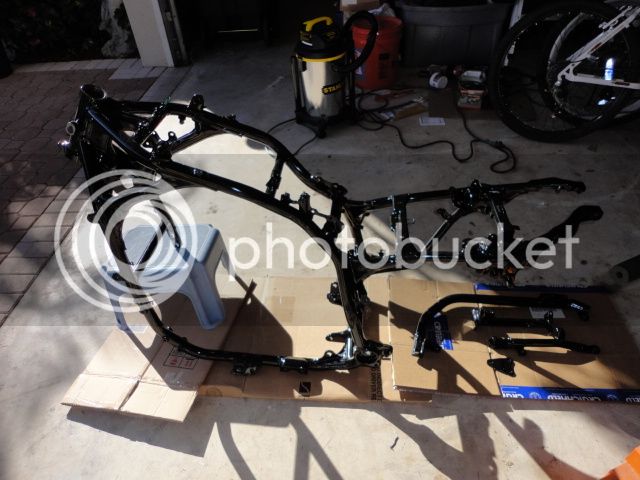
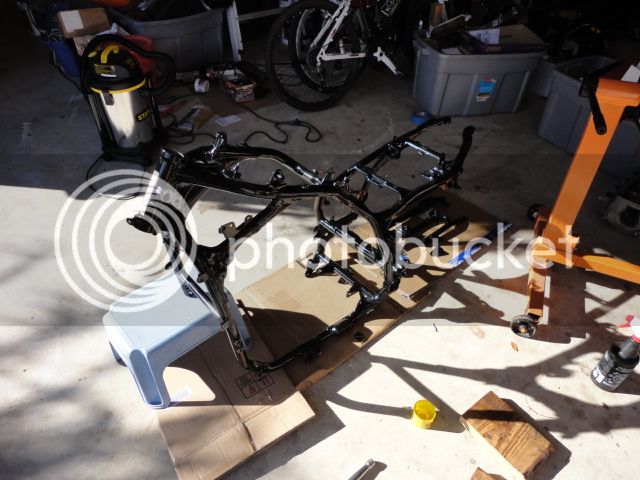
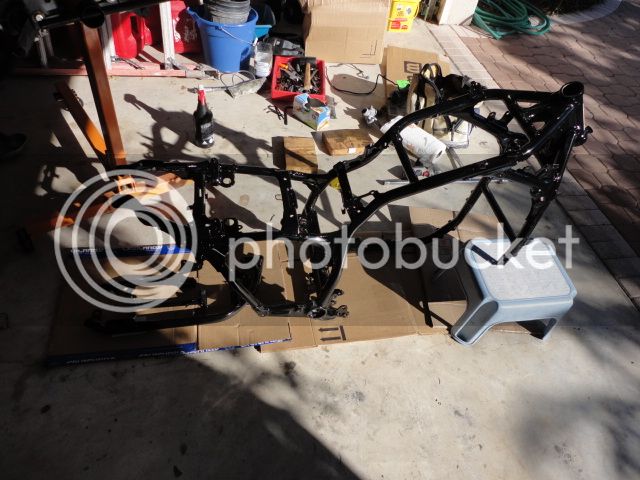
They were hack sawed, bent up to get the angle on the rear fender the guy wanted, then filled in with some sloppy wire feed weld. I've been cleaning the guys poor welding off of the bike. There was splatter all over the frame. I was waiting for the rear grab bar to come in (it did friday) so that I can bend those support back down and weld them where they need to be. The frame should be done by Tuesday (I'm shooting for Monday), and then off to the powder coaters.

Fire-Medic: It sounds like you've done alot of things I would like to do. Me sticking with these forks isn't my first choice but a full USD conversion isn't cheap with the cost of triple trees (either making them or buying them) so I'm trying to get everything up to par so I can enjoy the bike. I'll probably do the Busa breaks since the stock ones are so poor.
 
I'm in the same boat, just got my motor back after 8 months and just finished putting the from together tonight

Sent from my AT100 using Tapatalk 2
 

Attachments

  • uploadfromtaptalk1355028028648.jpg
    uploadfromtaptalk1355028028648.jpg
    71.5 KB
  • uploadfromtaptalk1355028042440.jpg
    uploadfromtaptalk1355028042440.jpg
    66.1 KB
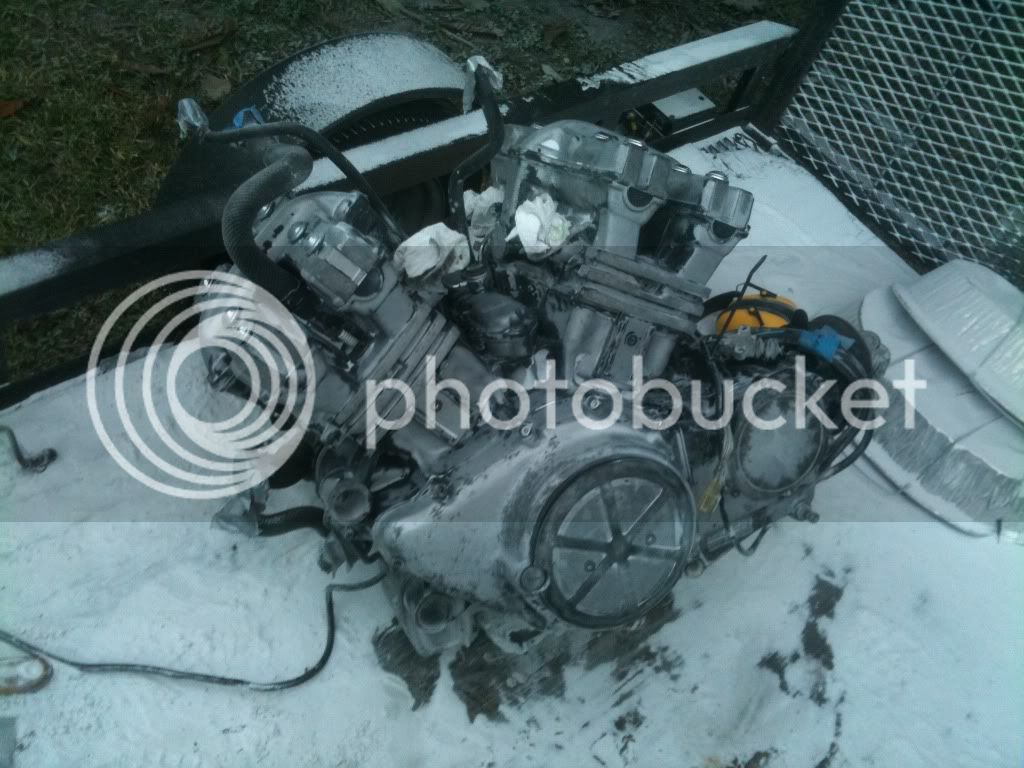
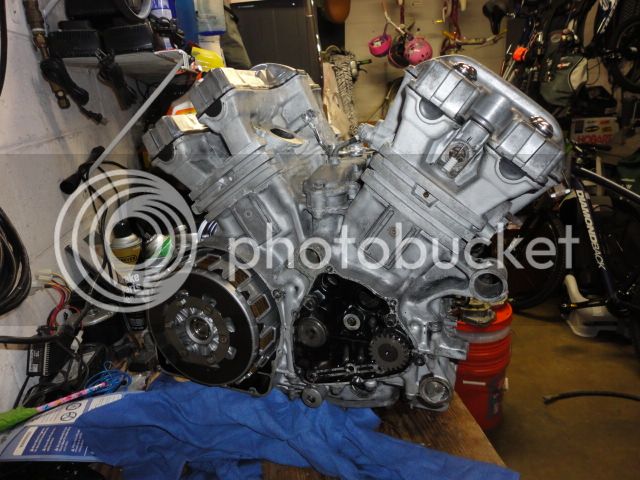
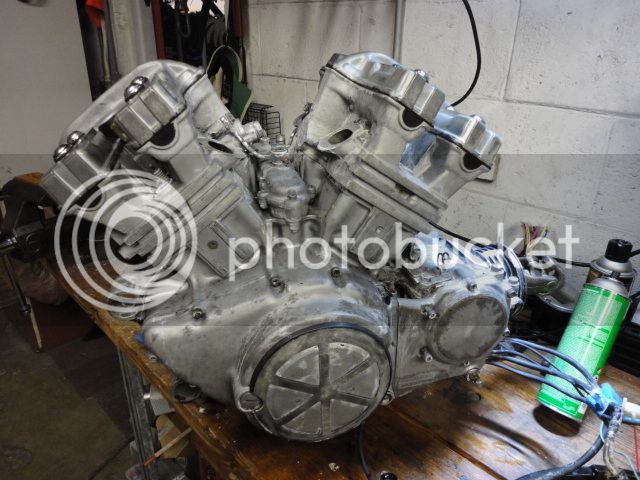
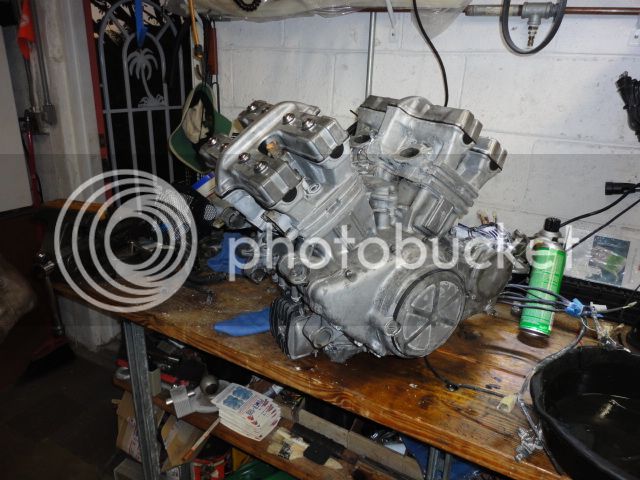
Its cool to see the interest in this thread. Makes me want to document it better. I spent most of today trying to soda blast my engine. I'm sorry I ever tried to mess with the Harbor Freight soda blaster. It constantly clogs and doesn't work well unless you have a massive, dry air supply. I have alot of it done but need to pick up a new bag of baking soda media and finish up tomorrow. Then it gets some POR15 black engine enamel brushed on. That should be fun.
photo.jpg
 
I would get some block off plates for those intakes. You don't want sand getting into the cylinders...
 
It's just baking soda which is soft enough that it can pass through the engine with damage. I have the ports pretty well packed with paper towels and I will vacuum them during clean up.
 
Por15 can be sprayed. My frame of my 72 cutlass was done in por15 as were my vmax wheels just last week.
like Kyle says definitely spray it comes out so much nicer.
 
I did my engine using a HFT sand canister, the small one, & a 11 CFM 60 gal. tank compressor. I forget the grade of sand, but I posted it on here if you want to search. It came-out great, much cleaner than yours in appearance, and my factory black was pretty-bad looking.

I did use block-off plates. I used a hole saw to punch-out 4 discs for the exhausts, then short lengths of aluminum tube on-top of the plates inserted-into the exhaust ports, and some 3/4" or 1" L-angle extrusions to span-between the studs, on-top of the tubing, which was centered on the flat plugs inserted in the exhaust ports.(see the bare engine front exhaust cyl's pic.) I left the exhaust gaskets in-place. I had to dress the edges of the flat plates to get them to fit, but hardly any stock removal, they fit tight. That was for the front cyl's. For the rear exhausts, I removed the spigots for the pipes & placed the discs beneath them and them bolted the spigots back in-place.

For the intakes, I used the same flat plate aluminum stock and held them in-place w/flat washers and short machine screws in the intake spigot mounting threaded holes. The flat washers overlapped the flat plates and on some I had to grind one side of the washers a bit to get them to fit next-to the head castings.

The system worked like a charm, no migration of any kind of media into the ports. I used some heater hose for the water jackets, w/bolts inserted into the open ends of the hoses, to close them-off.

For the smaller front of the engine water passages, I measured the openings and bought some tapered rubber plugs from the hardware section at Home Depot.

It took about an hour & 1/2 to do the blasting, then I used detergent to wash the engine, did a blow-dry, & painted it using some engine paint I got at a local pro auto body paint supply shop. I sprayed it.

You can see the heater hose and the front exhaust block-off pieces in the bare-metal engine shot, and the rear cyl. exhaust spigots in-place.

I wouldn't hesitate to do it exactly the same way in the future.
 

Attachments

  • engine painted.jpg
    engine painted.jpg
    121.1 KB
  • sandblasted engine.jpg
    sandblasted engine.jpg
    171 KB
If I could do it over I would use sand.
Quick question- what happens if I paint the engine and then need to remove an engine cover? Will it ruin the paint in the area of the where the two surfaces mate? Is the solution to score the seem with a razor?
 
Exactly. Score the seam will help ensure that is where the paint will separate.
 
My cousin fixed my frame
DSC02636.jpg

I finished blasting my engine but didn't get to snap a pic. I'll get one tomorrow.
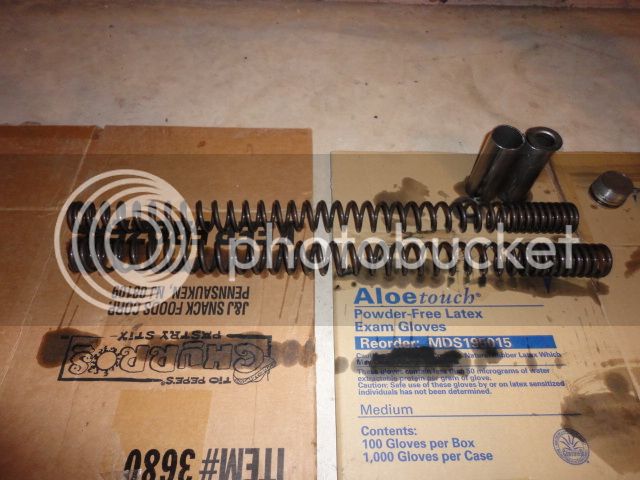
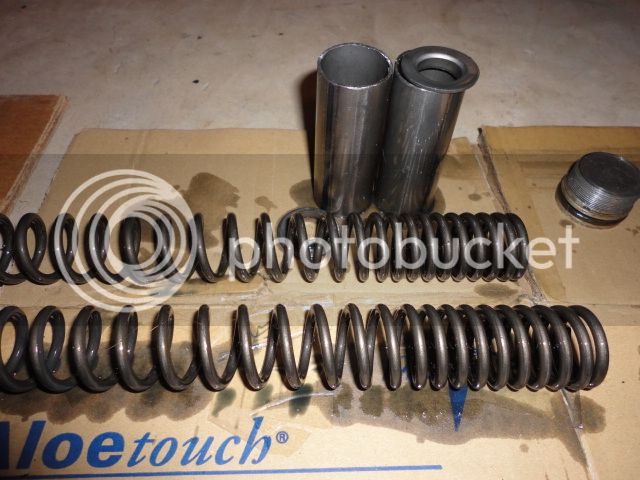
I'm taking my forks apart and it looks like the springs are progressive. Let me know if these are stock or not.
DSC02637.jpg

DSC02638.jpg
 
Stock springs are progressively wound also. They are just thinner coils. Hard to tell from the pics. They look stock to me but not sure. Maybe take some measurements and someone may have progressive ones to measure for comparison... :confused2:
 
I got the frame back from powder coating. Its really shiny!
DSC02670.jpg

DSC02669.jpg

DSC02668.jpg

I am replacing the gaskets for the engine covers. Some of the gasket material is a pain to get off. I might have the painting done today for the engine. The new valve cover seals are already installed in these pics.
DSC02671.jpg

DSC02672.jpg

DSC02673.jpg

I found out that my forks weren't only pitted but actually bent so I got a nice pair from Kyle C for a great price. I need to disassemble those and Wednesday I will be dropping the fork lowers, wheels, swing arm, triple tree, grab bar, and a few other random parts at the powder coaters. I should have the stuff back by the second or third. At that point I will be ready for assembly. I've bought tons of new seals and small random parts but the bike should run nice once together.
 
Wow bud, that thing will look sharp when done. At least you didn't have to split the motor and repair your trans like I did. Also if your working alone like myself. Its a lot easier putting the motor back in the frame if you block the motor up and mount the frame to the motor. I didn't have to say half the curse words I did taking it out. :rofl_200:
 
Seconding V4 engine reinstall technique. This is the way to go when doing the full rebuild. It is not practical when just pulling the motor. I think of it as putting a frame around an engine, not putting an engine into a frame. Even one's wife can help lower the frame over the motor without scuffing and nicking frame and engine paint.
I went through a dry run when everything was unpainted and found it best to elevate your work space like on a island bench top waist high. Motor is blocked and padded off the table top to allow access to motor mount plates/nuts. It was easy to put rags around tight spots to prevent abrasions. One working by themselves could lower the frame strapped from an engine hoist and line it up slow and safe. Maybe a video is in order?!
 
Ya in my mind that is the only way to do it. The engine is heavy even with two men. I have a chain hoist so I will block the engine and lower the frame with precision increments so that it lines up perfect and easy. Ill snap a pic when it gets done. Today I need to get my *** in gear and finish replacing the case gaskets and cleaning the engine so its ready for paint.
 
Back
Top