Eugene Brad
Well-Known Member
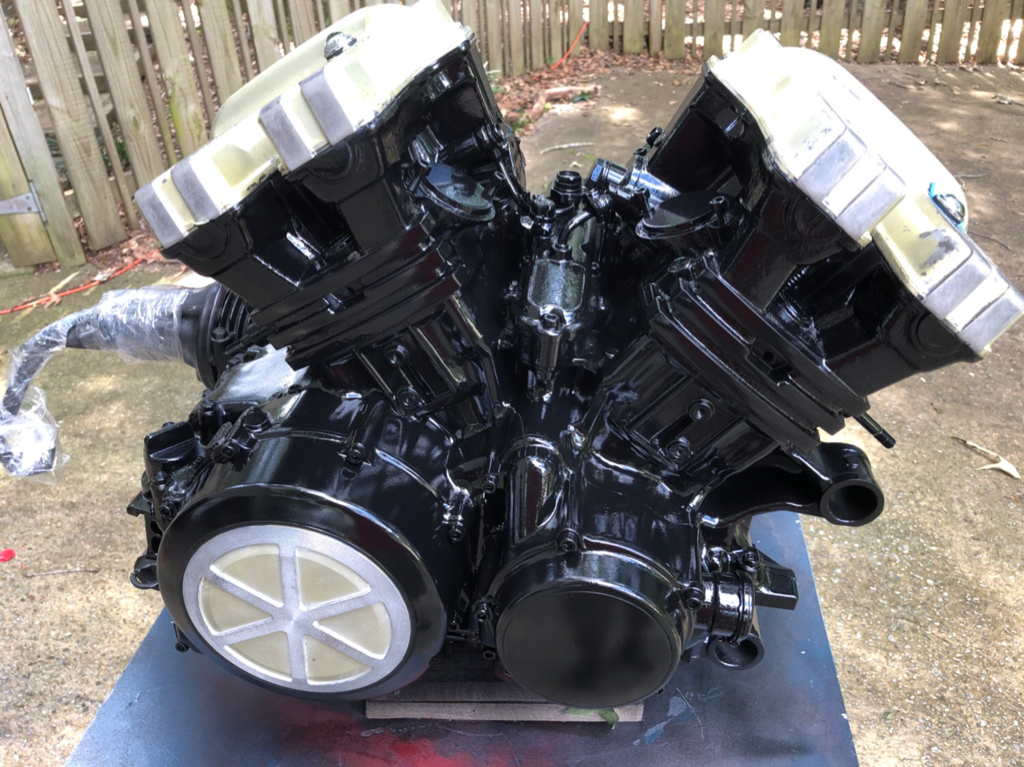
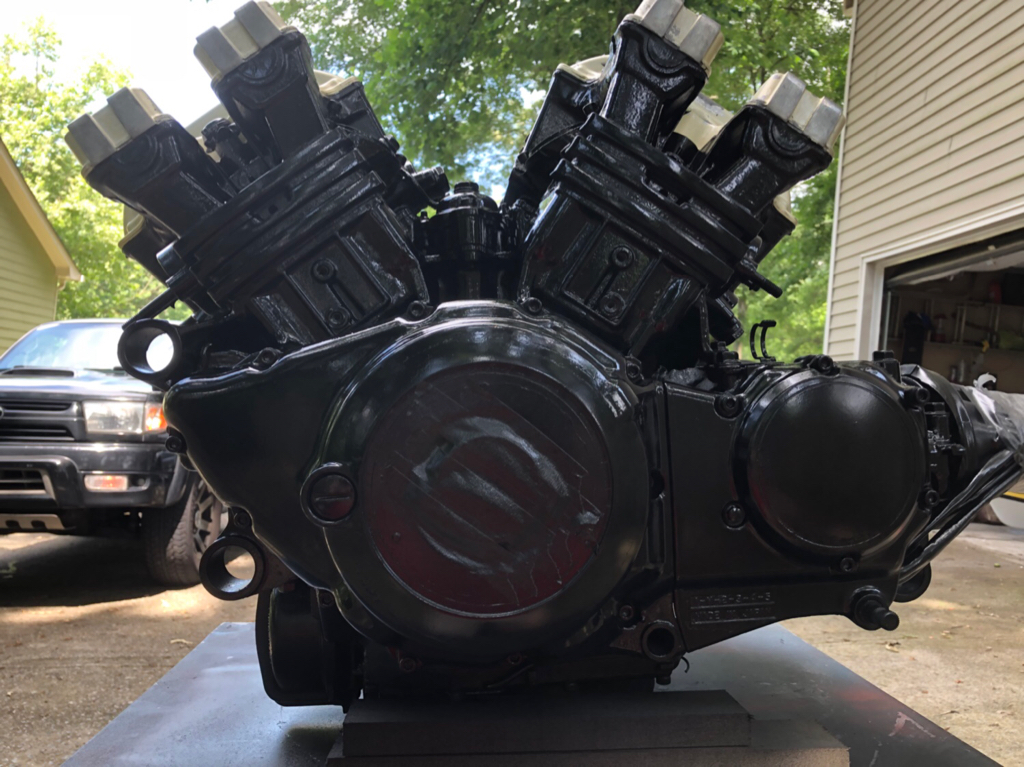
Dude! Looks great. Huge difference. Let us know how it holds upWell, Finally got a chance to tackle my aged engine paint.
1st I did a standard wash with soap and water, to get the surface grime minimized.
Next I brushed and air blasted away any loose paint areas I could find.
Then I used the 1st part of that KBS Paint system called Kleen. This removes any oils and grease that may be lingering around.
After rinsing it with filtered water, I let it dry completely.
Then, the 2nd step in that kit was the Rust Blast / Etching.. I let that Etch any paint and raw metal areas for the paint to adhere.
I then covered up all my bolts with heat shrink tubing, to protect them from the paint.
I didn't want the paint to create a seal, which would break up, if I ever had to get into one of the side covers.
Finally the paining..
I was not worried about getting paint on some of the bare aluminum areas, since I still need to polish some areas up. Plan to do that next week. Also, since i was not looking for perfection, i just needed it to look better than it did.. :biglaugh:
Now I'm letting the paint to fully harden, as per the instructions.. 7 days, before running the bike. I plan to clean up the round covers (tuning fork logo), maybe paint the triangles black. Also may do something with the old looking bolts..
Before:
View attachment 58291 View attachment 58292
Prep work:
View attachment 58293 View attachment 58294
After:
View attachment 58295 View attachment 58296
Sent from my SM-G360V using Tapatalk


![Lamicall Motorcycle Phone Mount Holder - [Dual Vibration Dampener] [720° Adjustment Arm] Motorcycle Cell Phone Holder, Bike Handlebar Phone Mount, for iPhone 16/15/ 14/13 Pro Max, 4.7-6.7" Phones](https://m.media-amazon.com/images/I/41g9IDInCIL._SL500_.jpg)


![Bovemanx Motorcycle Phone Mount Holder, [150mph Wind Anti-Shake][7.2inch Big Phone Friendly] Bike Phone Holder, Motorcycle Handlebar Cell Phone Clamp, Compatible with iPhone 16 Pro Max Smartphones](https://m.media-amazon.com/images/I/51F+1sontPL._SL500_.jpg)


![LISEN Bike Phone Holder, [2024 Upgrade] Motorcycle Phone Mount, Bicycle Phone Holder, Handlebar Phone Mount, Dirt Bike Accessories, Bicycle Accessories, Gifts for Men for iPhone 4.7-7" Phone, Black](https://m.media-amazon.com/images/I/41FJGrZQ5ML._SL500_.jpg)


