You are using an out of date browser. It may not display this or other websites correctly.
You should upgrade or use an alternative browser.
You should upgrade or use an alternative browser.
My two babes... Yeti and Grizzly
- Thread starter wildweasel_pt
- Start date

Help Support VMAX Forum:
This site may earn a commission from merchant affiliate
links, including eBay, Amazon, and others.
wildweasel_pt
Well-Known Member
Man, this is gonna be a Bizzilion Dollar Bike.....Somebody needs to nominate you for the Mod Monkey Award....For Sure...
Hint.....
I run with Grizzly but George beat me... he he... :confused2:
wildweasel_pt
Well-Known Member
Well. Finished with the 12 piston rear brake bracket... Due that im updating the bike i thought it would be good looking if i replaced the Vmax lettering with the Gen2 one (and its also easier to cut on the laser...) This is what i came up with... Next monday it will be cut out of stainless


wildweasel_pt
Well-Known Member
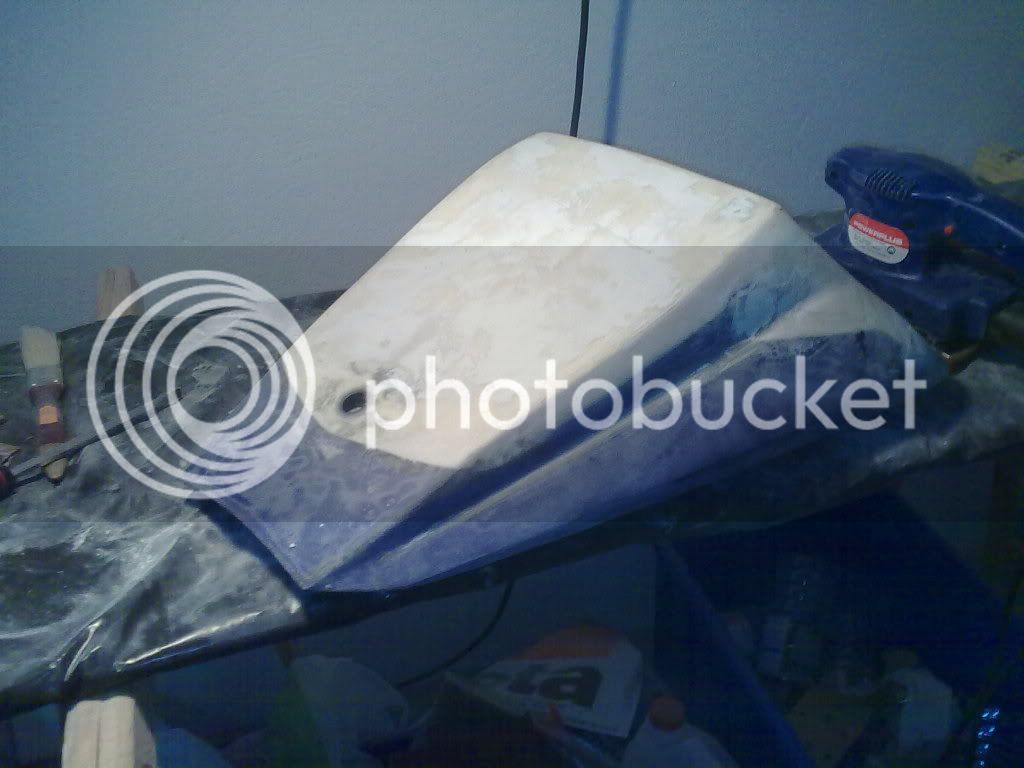
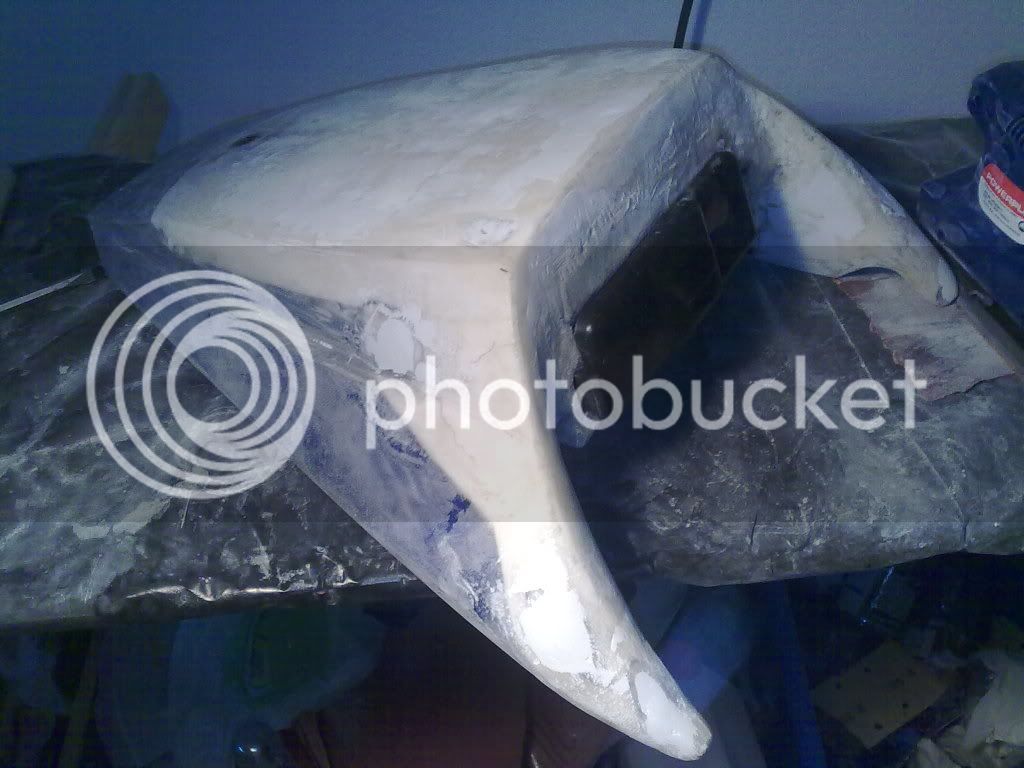
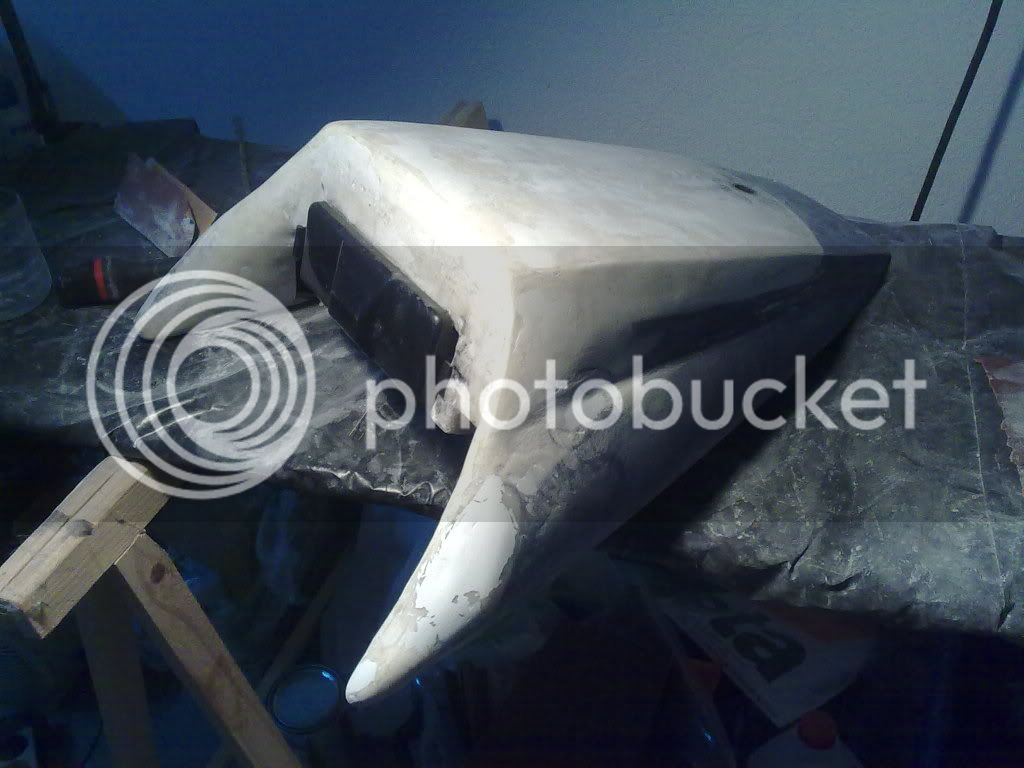
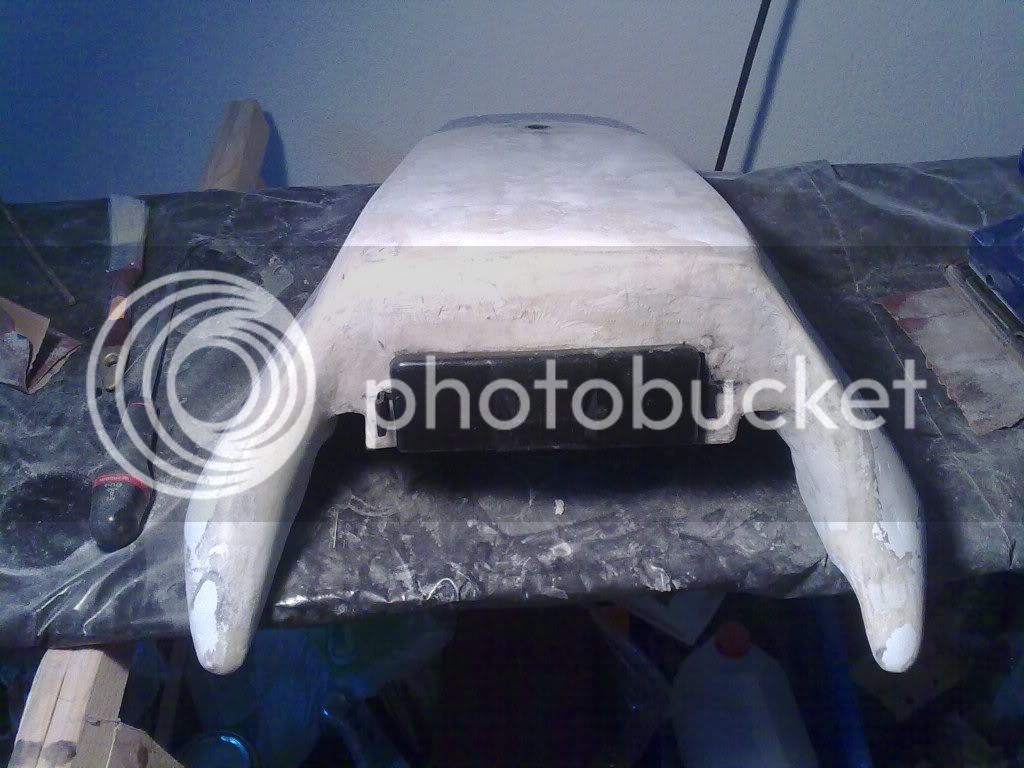
Well i spent some time around the plastics and got the tail section ready for paint. It ended up becoming pretty nice. Everything fit snug and flush...


wildweasel_pt
Well-Known Member
Changed Grizzly's rear blinkers to LEDS... No big issues... Just added a couple resistors to keep the rate...


$75.98
$89.99
Electric Heated Underwear Set Fleece Lined Thermal Body Suit Men Winter APP Control Temperature Motorcycle Top Pants (Black, XL)
Henan-Shoupan
wildweasel_pt
Well-Known Member
Rear brake bracket is done. Went for polishing. This week i'll get new hoses for the full thing... Next week everything will be assembled. Lets see if paintwork will be done by then...


one2dmax
Well-Known Member
I like it!
wildweasel_pt
Well-Known Member
Thanks Sean. Coming from you its a great compliment...
wildweasel_pt
Well-Known Member
Crazy!! What you using for the master dude?
im keeping the stock one for now. i believe it will do the trick regarding displacement and preventing locking. lets see
one2dmax
Well-Known Member
The master won't displace enough to do the job though you also will have double the surface area grabbing. It will feel spongy as hell but might still do the job. You'll have to have the lower master turned up while bleeding with something in the pads. Then rotate back into place and bolt in (without taking the line loose). Still looks cool even if you make one non-functional (with a plugged line going to it).
Sean
Sean
[email protected]
Well-Known Member
Very unique bike. Awesome job!
wildweasel_pt
Well-Known Member
The master won't displace enough to do the job though you also will have double the surface area grabbing. It will feel spongy as hell but might still do the job. You'll have to have the lower master turned up while bleeding with something in the pads. Then rotate back into place and bolt in (without taking the line loose). Still looks cool even if you make one non-functional (with a plugged line going to it).
Sean
Thats exactly my aim Sean... I want to avoid the locking by having to press the pedal further to get enough displacement to fill the 12 pots, at the same time i have more grip, i need less pressure to have an effective braking... I'll test it and see what comes up. I think it will be able to build enough pressure because i see no big difference between the vmax rear master and the hayabusa front one regarding piston diameter - if im not mistaken hayabusa uses 19x18.
They will be bled before bolting in. Theres no other way to do it properly
Im curious on how this will turn out. This weekend i'll check. Can't wait to get everything assembled
[email protected]
Well-Known Member
Gen 1 busa has traditonal front brake master with 14mm bore and uses traditional calipers
Gen 2 busa has traditonal front brake master with 14mm bore and uses radial calipers
Gen 2 busa has traditonal front brake master with 14mm bore and uses radial calipers
wildweasel_pt
Well-Known Member
Gen 1 busa has traditonal front brake master with 14mm bore and uses traditional calipers
Gen 2 busa has traditonal front brake master with 14mm bore and uses radial calipers
Hi Mike
Are you sure its only 14mm for 2x6 pot calipers? I found this info below, check post #12. It doesn't make much sense to me having same diameter for 4 and 6 pot calipers. Usually when the number of pots rises, so does the piston diameter because of quantity of oil to push.
Gen1 has 15.854mm master cylinder diameter, gen2 has 13.984mm
Gen1 has 26.970mm brake caliper piston diameter, gen2 has 32.130mm
http://www.hayabusa.org/forum/new-owners-forum/117839-4-piston-brakes-vs-6-piston-brakes.html
Does anyone know what is the vmax rear brake master piston diameter?
[email protected]
Well-Known Member
Could be wrong on the Gen1 master, just going off what I read on another forum. Never had one in my hands.
I have a gen2 master on the shelf, it is marked 14mm.
I have a gen2 master on the shelf, it is marked 14mm.
wildweasel_pt
Well-Known Member
Well my front end and rear brake assembly are done. The vmax rear master is not enough to lock the rear wheel as Sean talked before and i expected it. Its a homemade kinda ABS system... he he. The clutch master is awesome. Im using Barnett conversion system and the clutch is lighter than stock. I even thought that i had air in my clutch line but the plate was moving so i put it in gear, pressed the clutch and pushed the bike forward and it was working after all. Pictures follow...


wildweasel_pt
Well-Known Member
Almost done... Just missing the front fender, steering damper and footpegs to finish this stage... Today i went for a ride (finally) It looks that the rain was waiting for me. It poured to the extent that i couldn't keep my helmets visor down for so much spray and i couldn't open it coz the rain didn't let me keep my eyes open... I arrived soaking wet... Well its kinda hard after i washed the bike thoroughly but whatever... ITS ALIVE!!!...


Similar threads
- Replies
- 26
- Views
- 2K
- Sticky
- Replies
- 20
- Views
- 24K
- Replies
- 9
- Views
- 23K


