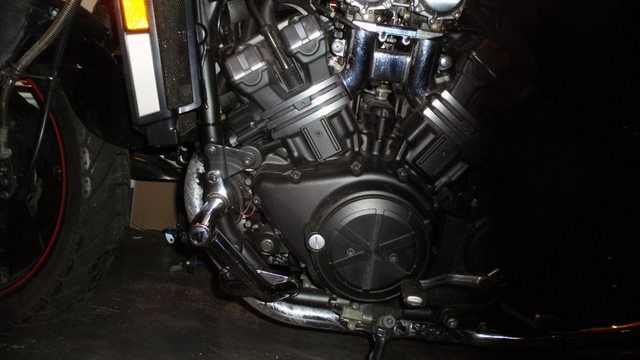
What did you do to your Vmax today? Part 2

VMAX  Forum

Help Support VMAX Forum:

This site may earn a commission from merchant affiliate links, including eBay, Amazon, and others.
got the water pump on the 86 all rebuilt and put back on. changed out the oil 3 times and now it looks clean. coolant level is holding steady.
bike is good ta go!! runs great!!:punk:

That's awesome good job I'm sure the new owner will be pleased with your quick service and standing behind your sale.
 
They look great KJ, I really like your bike! Someday after I get Sean paid off I'd love to get a set but all chromed. Damn I don't think I will ever be finished with this bike. I'm gonna sit down and make a list of everything I'd like to eventually do and I'm sure it'll be thousands of dollars but first I gotta catch up then TIRES. And even though its way past any sensible return I could never sell it now anyway cause I'd be so sick I think it would literally kill me. I've sold different vehicles in the past especially my 70 LS6 chevelle or my 63 409 Impala (black on black) but I plan on having my Vmax till I die.
 
I paid Sean.... for the box that showed up from FAST BY GAST!!!!!. If only I hadn't had hernia surgery last week, I could have taken it from the UPS guy and opened it up. It's gonna be a few weeks until I can start doing motor teardown, but I'm super excited to have my undercut transmission here.
 
I liked to hear all of this including the fix on the waterpump!

thanks for the tip Sean:biglaugh:....the dam weep hole was plugged.....so no wonder i didnt know it was leaking.

im glad that was the fix:clapping:
 
thanks for the tip Sean:biglaugh:....the dam weep hole was plugged.....so no wonder i didnt know it was leaking.

im glad that was the fix:clapping:

A good tip, use a wire to check the weep-hole for the H2O pump.

Glad you were able to find that was all you needed to do. You are gonna be happy w/an undercut tranny! They shift "like buttah!":biglaugh:
 
Call me dumb but where is the weep hole located? I just realized the water pump is the only part I didn't rebuild. Will this be a problem down the road?
 
Let the winter project list begin.

A few days back I installed a pigtail for a battery tender. Quick and easy and I have it quickly tuckable on the throttle side, behind the side cover.
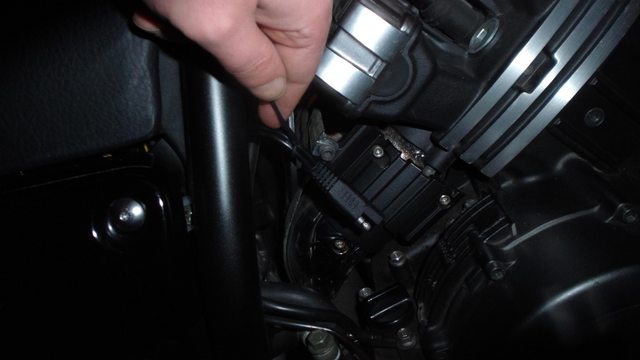


ToDo list today includes:

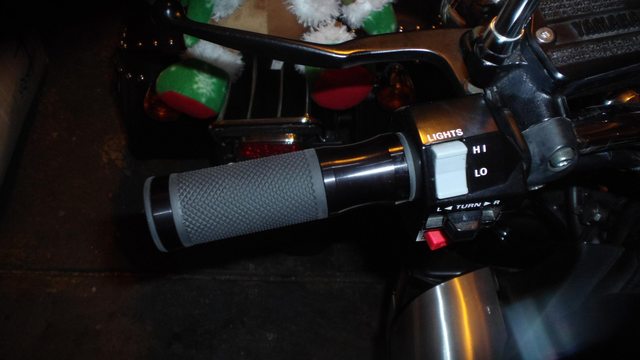
New grips, LED bar ends to supplement (not replace) existing front signals, and a throttle lock. Should be easy except for the LED bar ends which will require removal of the handle bars and a small hole drilled/sealed to get the wires out. This will mark the first time I've had to fishtape wire on a motorcycle.
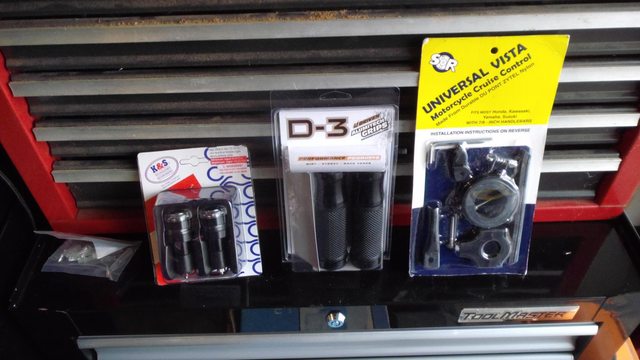


So long stock grips. I hardly knew ye.
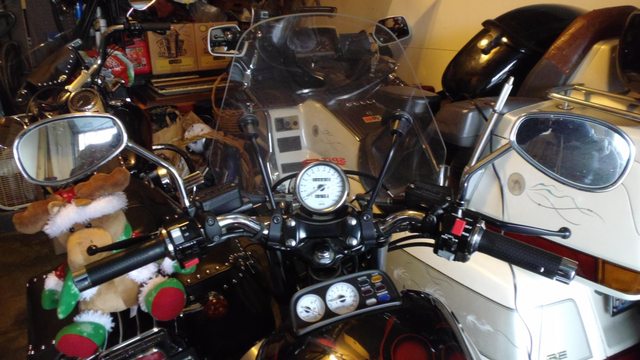

A blow dryer, a long narrow flat head screwdriver (it's actually the one from my carb adjustment tool so it's even motorcycle intended), and a little elbow grease and they're off.
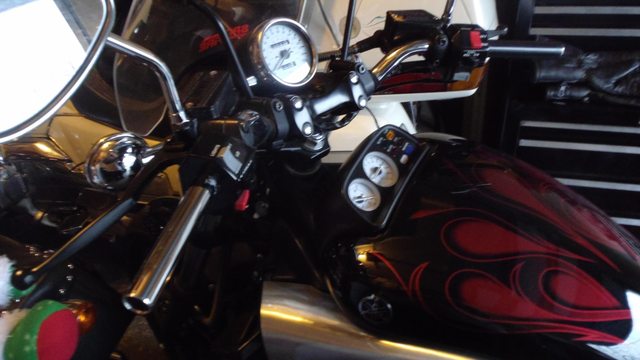


These Driven grips are a seriously tight fit, and they're flexible due to the pvc not being reinforced by any plastic. So cramming them on the bars took quite a lot of turning, huffing and puffing, and a ton of hairspray to work as a lube that won't continue to be a lube.

This is where I noticed the problem of the gap on the bars and after forum members came to my rescue I was moving right along.

What I hadn't mentioned before is that the LED end is just sort of floating there. It doesn't lock into place at all, and the 5 line badly translated to English instructions don't make it clear how that's supposed to work out. I know I can snug it up by pulling the cables tight, but I'd like something besides two small gauge low voltage wires holding the bar end on.

So the simple grip swap turns into a bit more of a thing... I loosened the bolts to the control housing so I could shuffle it further down the bar. Huffed and puffed as I worked the extremely tight fitting grip down to the end, and that shift's the whole assembly and grip down to the very end of the bar.

V94Eal.jpg


Looks good. As a bonus it puts my mirror stems outside another inch or so, which will hopefully help out with getting a great view of my shoulders, but being unable to see the car pulling up behind me.

I actually pulled it about an 1/8th" over the bars, so I can slide the LED turn signal into the grip to help hold it in place. A grip holding onto the bar end is the exact opposite of how this is supposed to work, but I don't really have another option that I can think of. Good thing those grips are so damn snug I guess.
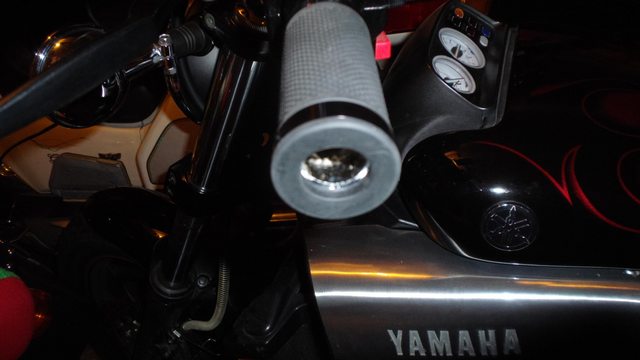


Rinse/Repeat for the throttle side, but with the added step of using a tube cutter and taking the inch off the throttle tube so it wasn't just sticking out.

----
That was a lot more work than anticipated but hey, one thing down. Onto the throttle lock. I debated with myself for about 30 minutes on if I should install it straight to the throttle tube instead of over the grip, but ultimately decided that even if I could custom cut an extra thick spacer it would mean I uneven mirrors and controls. With the clutch side shifted down an inch, and the thickness of the throttle lock negating the need to shift the throttle side down at all. Also, the removal of the throttle lock would mean a huge bit of exposed throttle tube, and a quick bolt-on like this should be able to be removed quickly if desired. So I decided to cut the throttle tube, and install the grip like normal. Then install the throttle lock right over the top of the grip as intended.
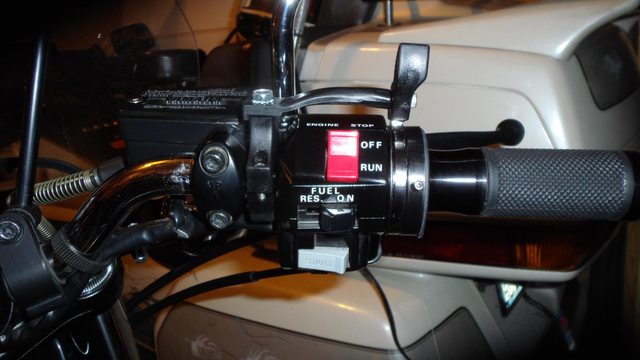


New grips done. LED bar ends.... going to need to wait until tomorrow, I had not expected just the grips to be such a hassle.
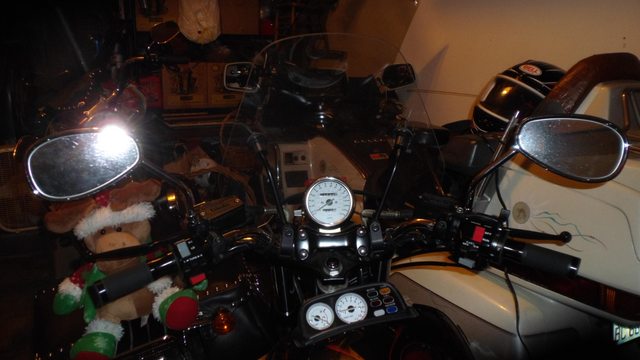


While messing around with all this today my mail man stopped by. He saw the reindeer strapped to the Softail and asked if I had been in the local toys for tots run this December. I said yes and that was why it was strapped to the bike, and it turned out he rode it too. Chatted about bikes for a bit and then he left me this package:
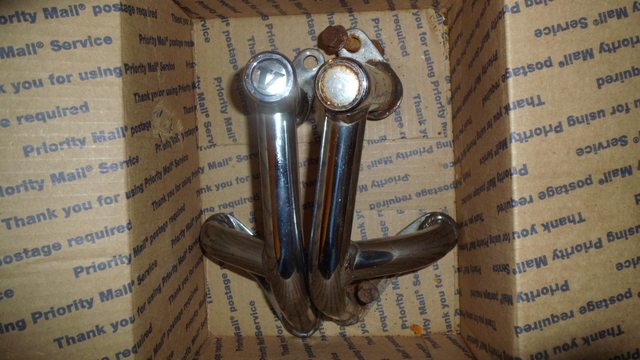


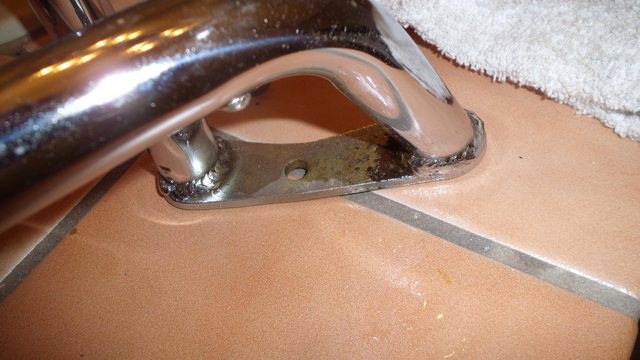
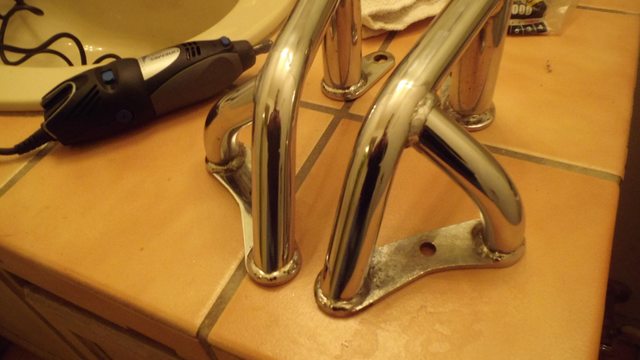
Rusty ol crash bars from e-bay. Got a pretty great deal on them and look forward to soaking and scrubbing all that rust away before powdercoating.
 
Call me dumb but where is the weep hole located? I just realized the water pump is the only part I didn't rebuild. Will this be a problem down the road?

its on the bottom of the pump case. cant hurt to poke a piece of wire in there to make shure it isnt plugged.....wish i did :rofl_200:....if its not leaking you should be fine....however its only about 60 bux to rebuild it....a new pump is around 200:surprise:
 
Zack the one reason I went w bar end mirrors was the fact that the stock mirrors were obstructed by my body n always had to move to the left or right to see what was behind me. The bar end mirrors are definitely one of my favorite mods so much better no moving just look n see. You way want to look into them .
 
With the warm weather we've been having the last 3 days (40+ degrees!!) I took the chance to open up the trailer, let RB run for about 30 minutes, removed the rear fender/ grab bar to refine a couple tailight mods previously done.
 
Zack the one reason I went w bar end mirrors was the fact that the stock mirrors were obstructed by my body n always had to move to the left or right to see what was behind me. The bar end mirrors are definitely one of my favorite mods so much better no moving just look n see. You way want to look into them .

I like the bar ends but I like blinky stuff more. Provided the LED things work out I'll be pretty content to keep them and solve the mirror problem another way. I'm looking at these Tomok knock offs which are a touch longer than stock.

I can always get stem extensions and convex mirrors as well.
 
Did a test paint job on my instrument pod's cover. IMO, It turned out better than I have thought it would. It looked pretty good under the 300 bulbs in my garage.

So I thought I'd hit it, directly, with the flash. So I put the flash on the camera, to simulate a really bright light, it still turned out pretty slick.

Going to be prepping the rest of the body works and other things the remainder of the week. I hope to have it painted by the time school starts in 5 more days.

instrumentcover2.jpg


instrumentcover1.jpg
 
So last I left these had arrived:


Time to rid the rust.

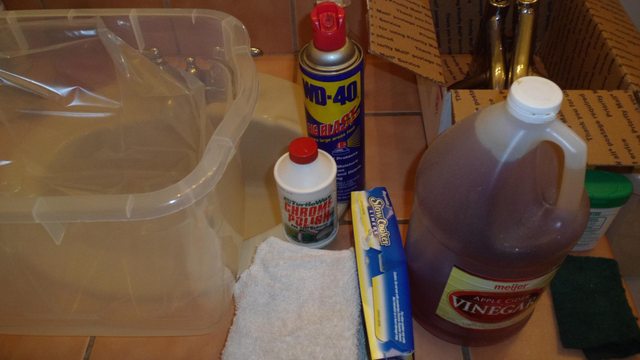
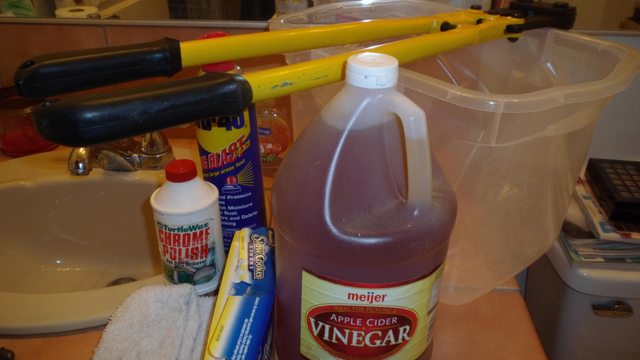
The tools:


God dammit... the bolt/spacer/nut that came in there is totally seized up with rust. Spent about an hour alternating between a couple wrenches and a wrench/ratchet trying to free it without any luck. **** it, I'll get a new bolt tomorrow. I just cut it off...

The tools (revised):


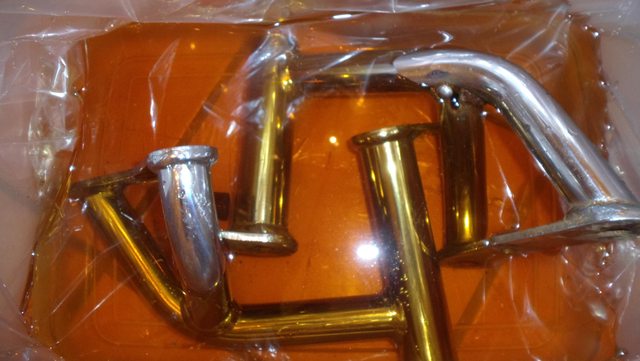
Step 1: Surface rust. Easily solved with a vinegar bath and sitting on my *** for about 2 hours.


Result: Pretty good. The really deep rust and a lot of the stuff around the welds is still very much there though.


I'll take care of that with some steel wool pads and a grinding wheel on my cordless drill in a bit. First thing though is to wash all the acid off the metal so it doesn't continue going to work long after it's bath.

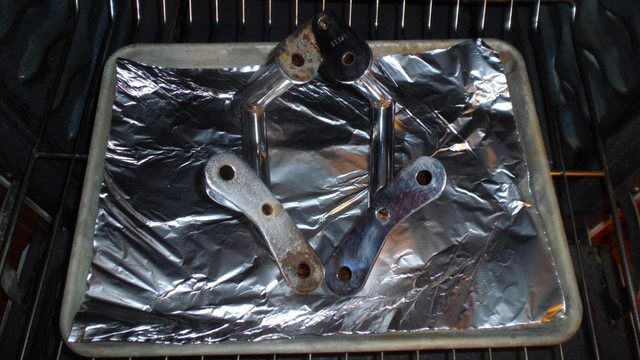
Step 2: Rinse off and thoroughly dry. WD-40 is great for this, but I opted for an oven set to 200 degrees.


Bake for 10 minutes or until golden brown and delicious.

Step 3: Scrub at all that deeper rust with steel wool pads, metal brushes, and grinding wheel attached to low rpm cordless drill.


Not bad. Still have a lot of stuff in the narrow crevices that I'm having a hard time getting at, and a lot of really tiny little specs of rust/pits/etc.

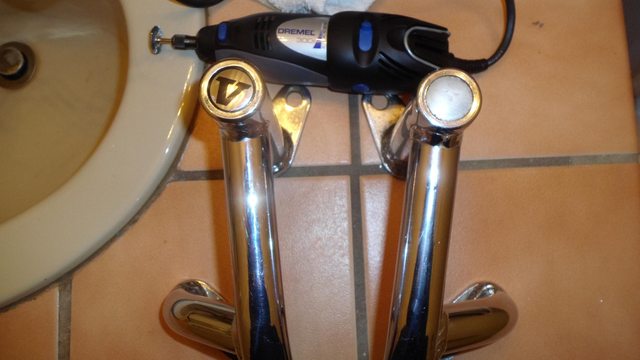
Step 4: Tiny and fast rpm wire brush attached to a dremel


Result:


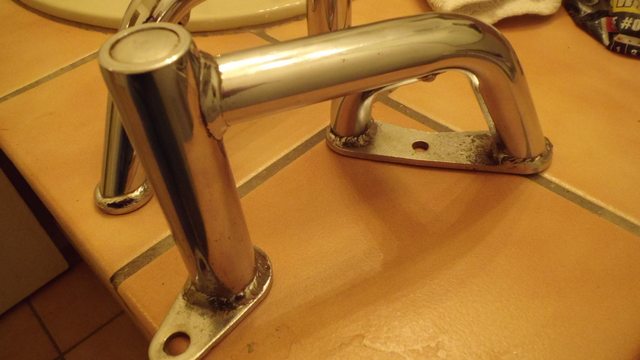
Ehhhh I could mess with it a little more, but I think that's about as good as they're going to get. There's only so much you can do when there's pitting like that.

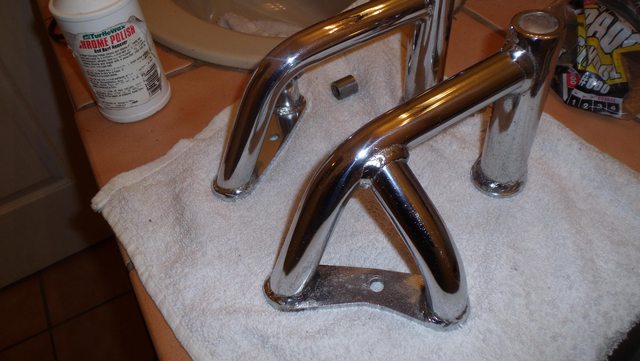
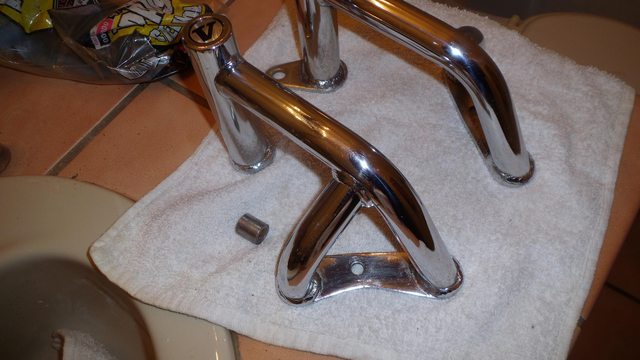
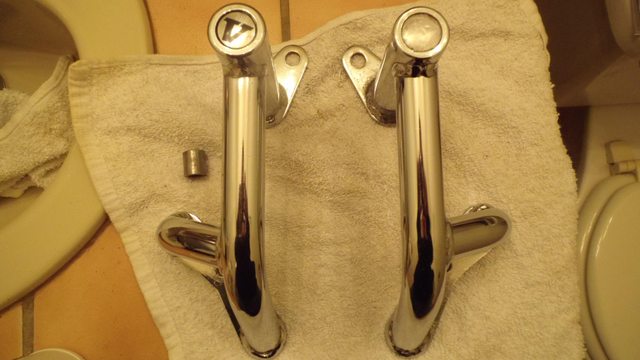
Step 5: Polish to shine


That spacer looks a little rough yet, but what the hell I'll toss it in there until I can come up with a new one. Found a metric bolt that will work to replace the rusty crap this shipped with. The rest of the bolts can be re-used from what's on the bike already.

Step 6: Install


Step 7: Realize you want it black to match the frame, and plan to powder coat eventually negating most this work

Ah well, at least they look shiny in the meantime, and I can put my feet up somewhere on the highway.
 
They work well and you can also put grip tape on the main cross rail. We weld on brackets to have an extra set of rear pegs put on there.

Sean
 

Latest posts

Back
Top