


VMAX NV
Well-Known Member
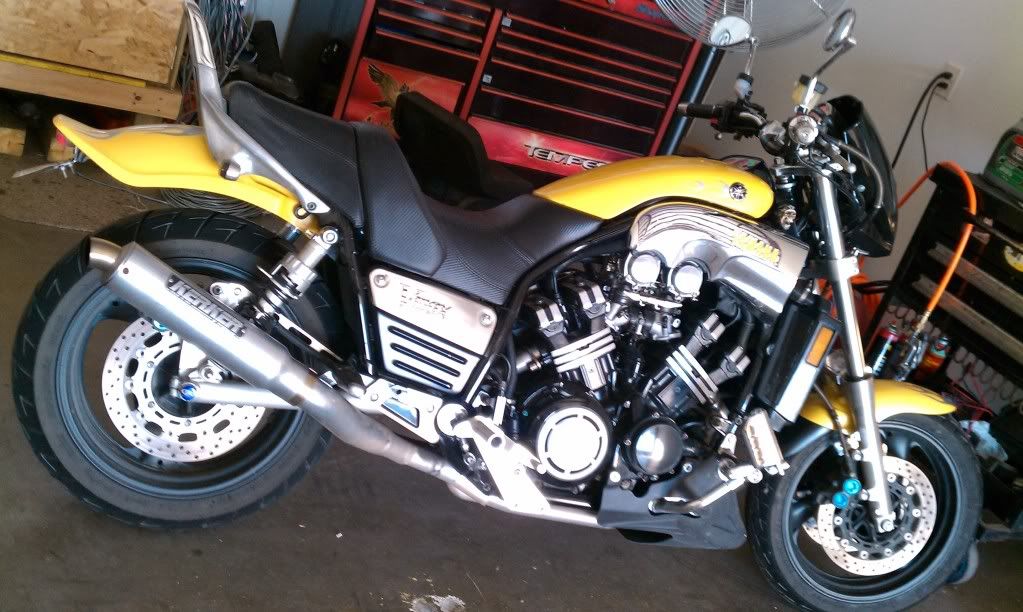
FINALLY finished installing my Progressive springs and oil! Thanks to all on the board for your help, especially Sean's video and DANNYMAX for loaning me his damper tool. :clapping:
Of course, I wouldn't be THE NOOB WRENCHER, if I didn't screw it up again::damn angry:
I hammered in the bushing with the washer, then took the washer off to see if it was down far enough.
Then I put on the oil seal and tapped that down with the washer(see where this is going?) When I looked I thought "wow, that is really far past the snap ring line, I wonder-oh where does this washer in my hand go?":ummm:
So I had to undo the drain bolt again and pull it all apart and put the washer UNDER the seal! Well, live and learn.
As soon as I get my new fork brace and brake pads it should only take me a couple weeks to get those on and maybe I can ride!
Trevor aka VMAX NV aka THE NOOB WRENCHER


![Bovemanx Motorcycle Phone Mount Holder, [150mph Wind Anti-Shake][7.2inch Big Phone Friendly] Bike Phone Holder, Motorcycle Handlebar Cell Phone Clamp, Compatible with iPhone 16 Pro Max Smartphones](https://m.media-amazon.com/images/I/51F+1sontPL._SL500_.jpg)


")


